Hyundai Tiburon Automatic to Manual Transmission Conversion - Page 2
This is page 2 of converting my 1998 Hyundai Tiburon from automatic to a standard transmission taking parts from a newer model of car, follow the link below to view the previous page.
After finding out that the flywheel would not fit my engine I first tried to find one local, no where could even locate one let alone stock one. Luckily the flywheel could be machined out so I took it into work. The first step was to true the flywheel in the lathe, first making sure that it was flat against the chuck.
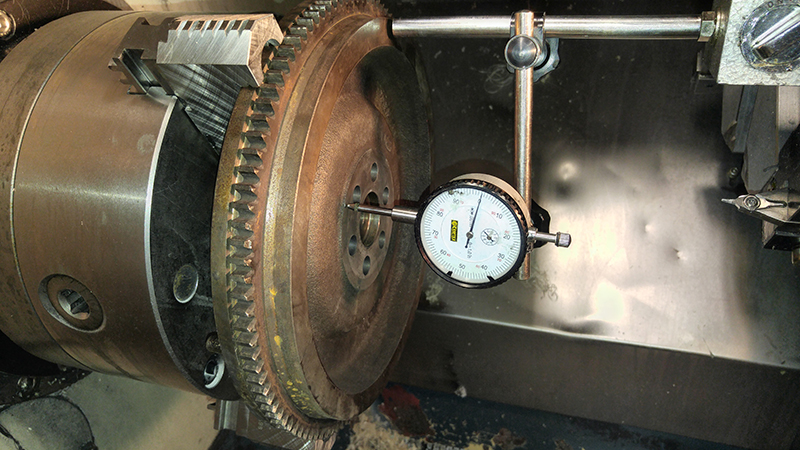
The second step was to ensure that it was running concentric, amazingly it was perfect and I didn't have to place any shimming in the jaws (You cannot clock in a self centered chuck without shims if there is runout).
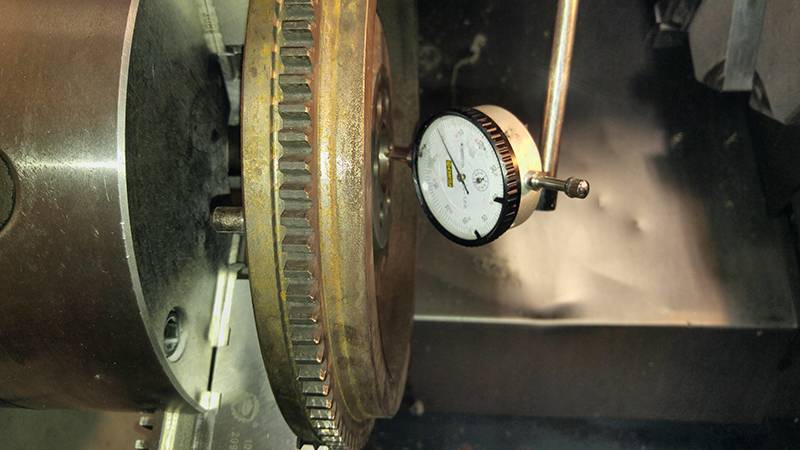
I carefully machined it by hand, measure 3 times, cut once.
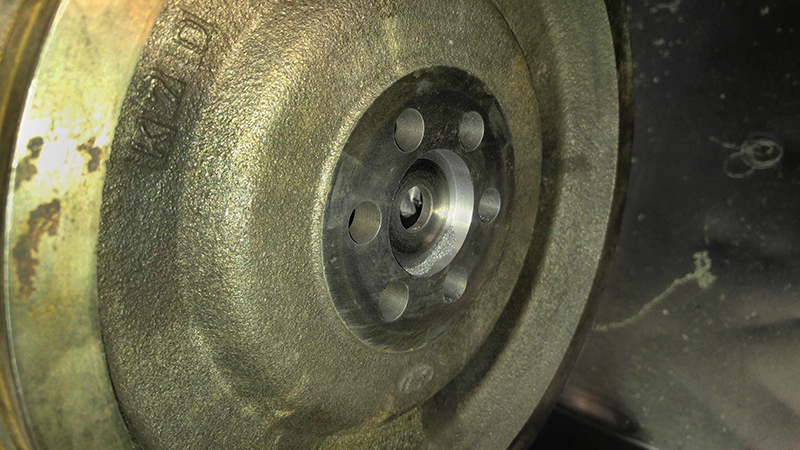
The diameter was increased to 40.99mm from 36mm, with the nose being 41.02mm this should ensure a nice snug fit. Using calipers to measure an inside diameter like this is fairly accurate, I'm sure it was more like 41mm, a 0.01mm discrepancy should be expected.
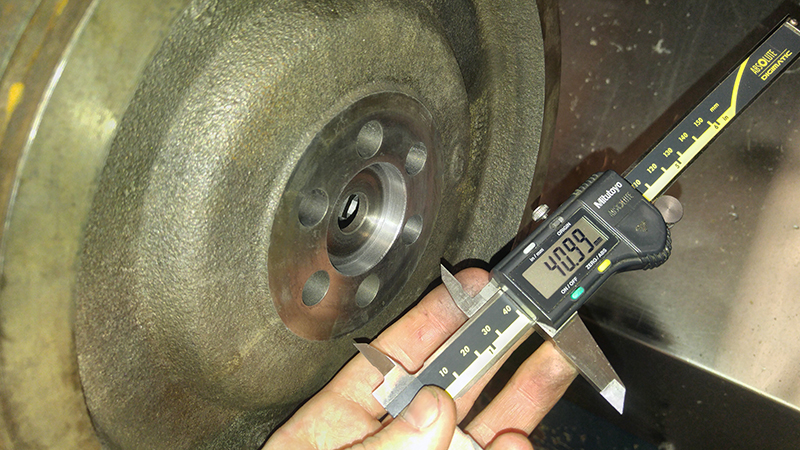
Thankfully the flywheel fit, I proceeded with tightening the bolts down, holding the flywheel in place with a strap on one of the flywheel dowels. It is advised to use a torque wrench, I didn't have one. As a precaution I chose to use a little bit of red loctite to ensure they would not come loose, this is maybe not needed, however added security is wise. In the manual the torque settings are about 90 ft/lb, I figured I was somewhat near this value since my bar was 18 inch and I gave around 60 lbs of force.
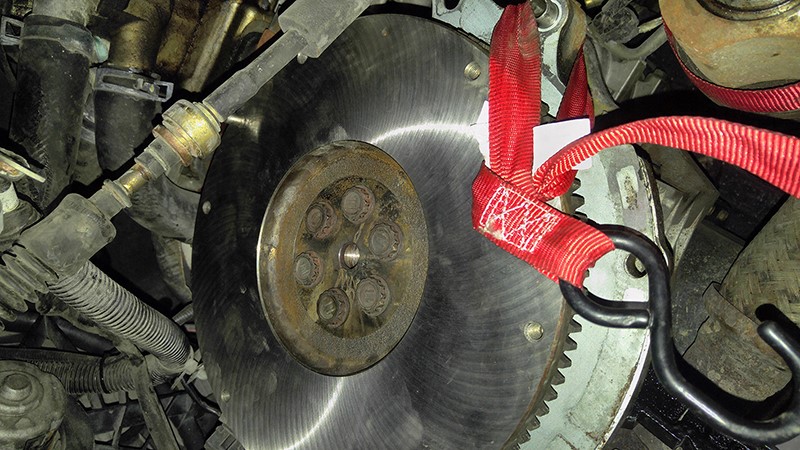
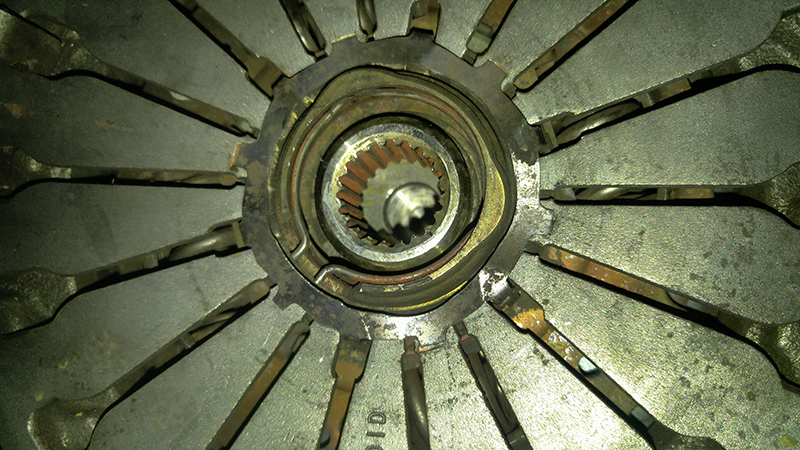
The clutch was placed onto the flywheel and secured in place with the pressure plate, normally an alignment tool is used but I think I got it spot on by eye (I did).
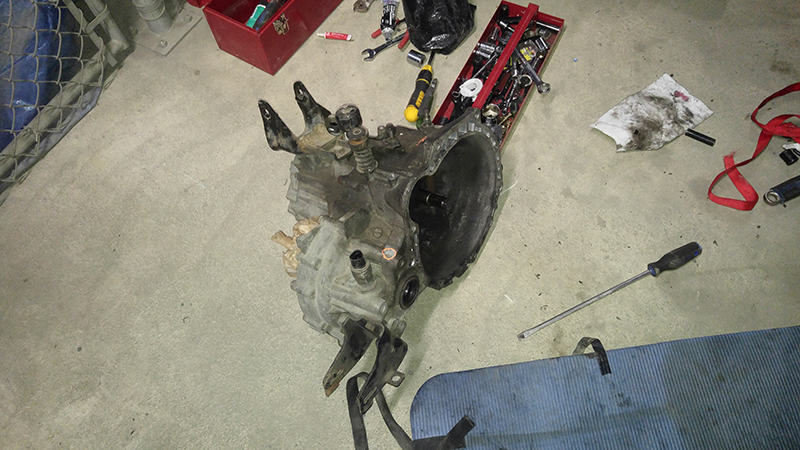
The standard transmission, you will have to remove all of the mounts to get it in the car.
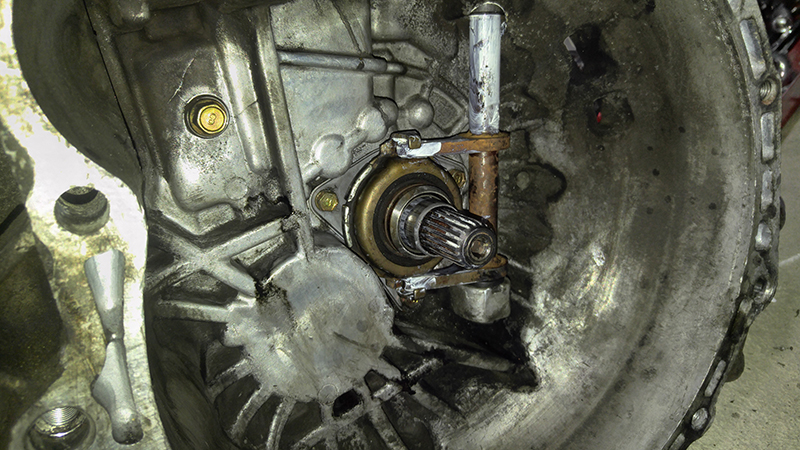
The release bearing assembly was cleaned and lubricated using white lithium grease. It is important that only a tiny amount of grease is used on the shaft spline as grease contaminating the clutch disc would render it useless. The clutch release bearing has to be held back by the arm to stop it sliding off, this is important because if the arm releases the bearing before the transmission is coupled to the engine then the clutch will not work.
The transmission placed on the jack and strapped in place.
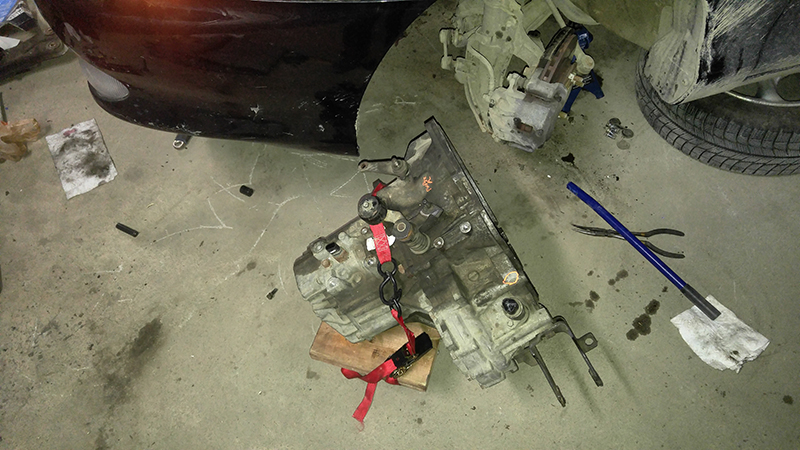
The transmission was placed under the car and jacked up at an angle so that the bell housing was higher. The transmission coupled to the engine easily, I then inserted the bolts to the engine and then finally the transmission mount.
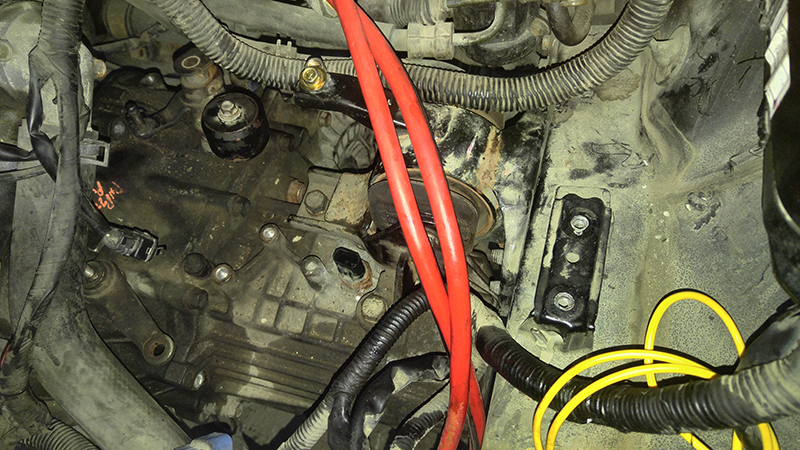
The clutch lever was pulled which connected the release bearing to the pressure plate, this is then permanent.
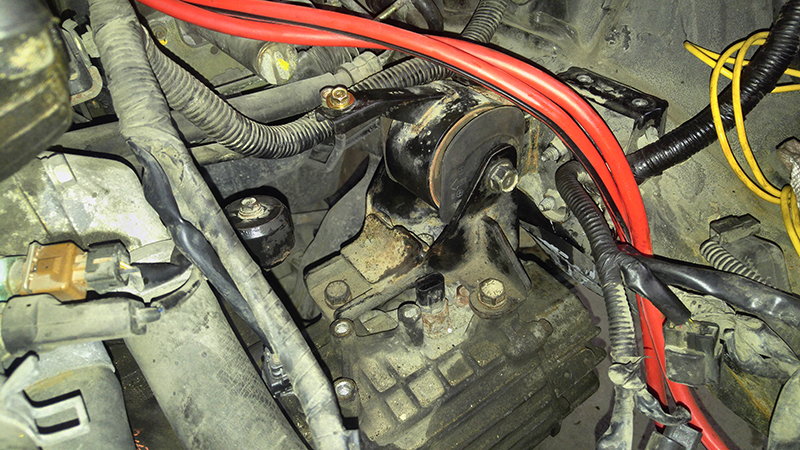
Just a picture of the gear selector.
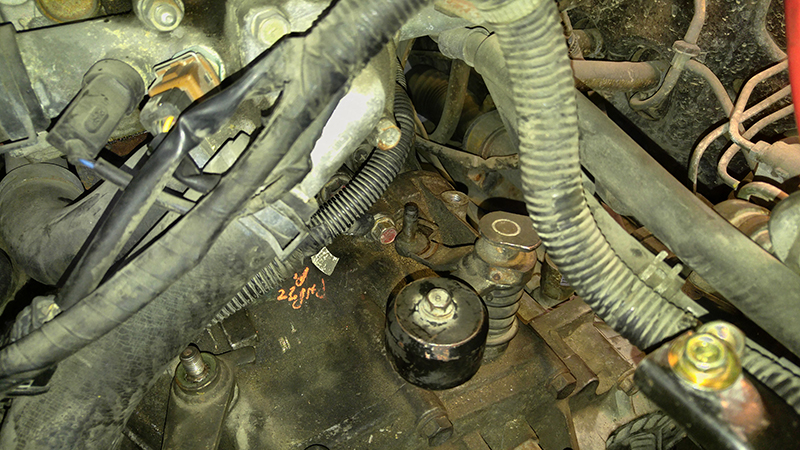
The metal clutch line was attached to the master cylinder, I had to modify an 11mm ring spanner in order to tighten it properly, it was rather difficult to remove in the first instance.
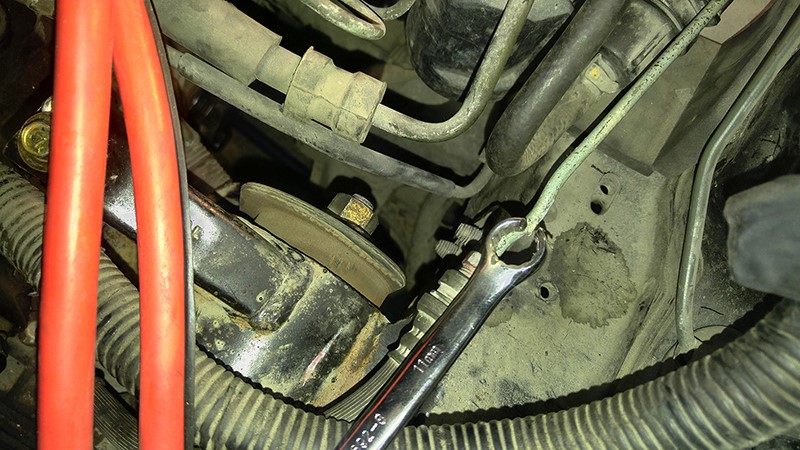
The master cylinder installed, I placed a little white grease in the connecting pin. At the same time I installed the new starter motor, remember it is different to the auto.
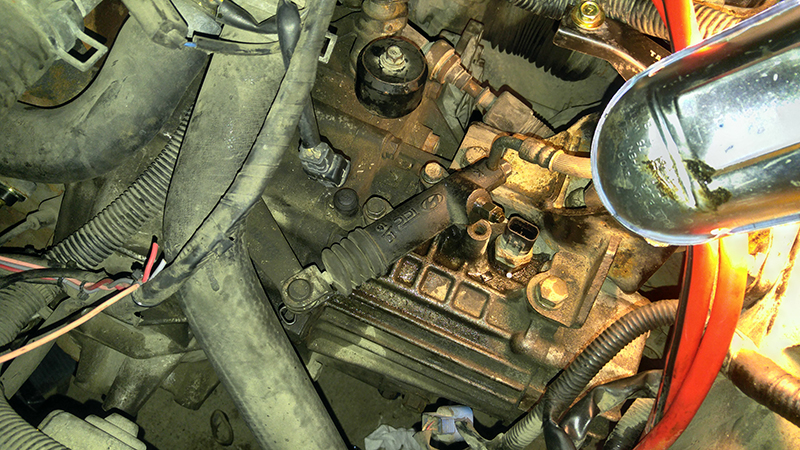
The clutch reservoir installed and filled with fluid. This was by far the easiest clutch to bleed, I only had to open the nipple until fluid started to dribble out, instantly bled, I didn't have to pump the pedal to expel air.
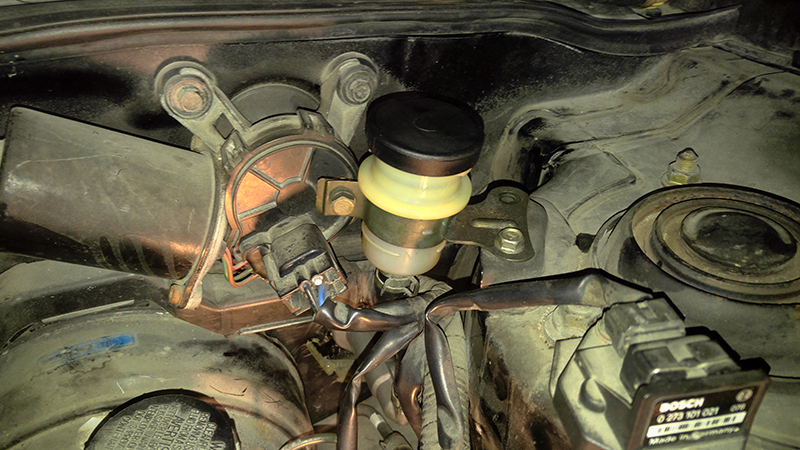
The drive shaft on the passenger side was lubricated with gear oil before installation, the same with the drivers side, a small application of white grease on the splines. Previously I tried to pop the ball joint with a pickle fork and damaged the boot seal, this would be a good time to replace the ball joint.
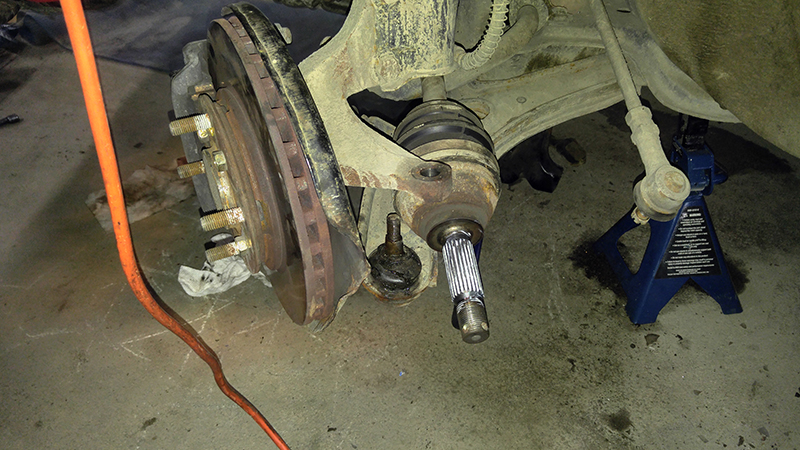
The rear transmission mount needs some modification, here is a bad picture of it.
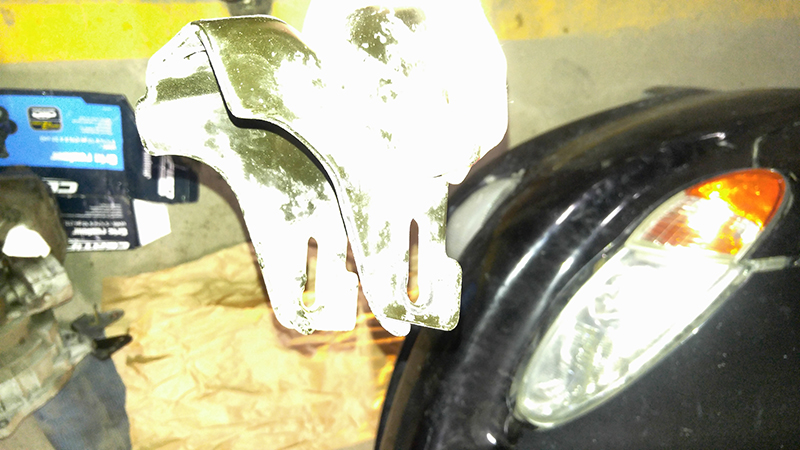
Here is the modified mount, this is required for clearance with the anti-roll bar. A quick dusting of paint to ensure that the part will not rust.
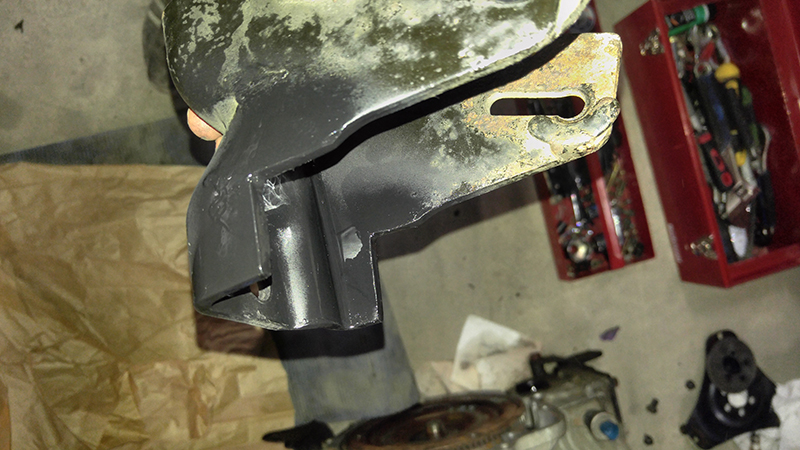
This is where I started to have some issues in that the subframe on the auto is different to the manual, I had to relocate the front mount forward by about 25mm.
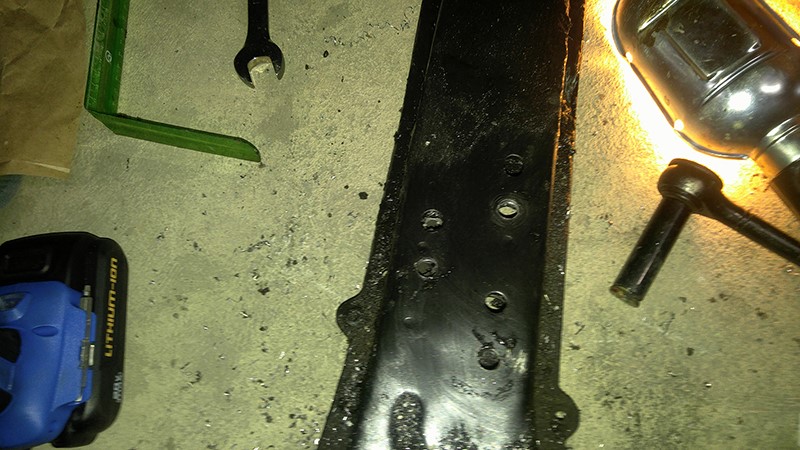
Next on the list was the shifter mechanism, so I first proceeded with removing the automatic cable.
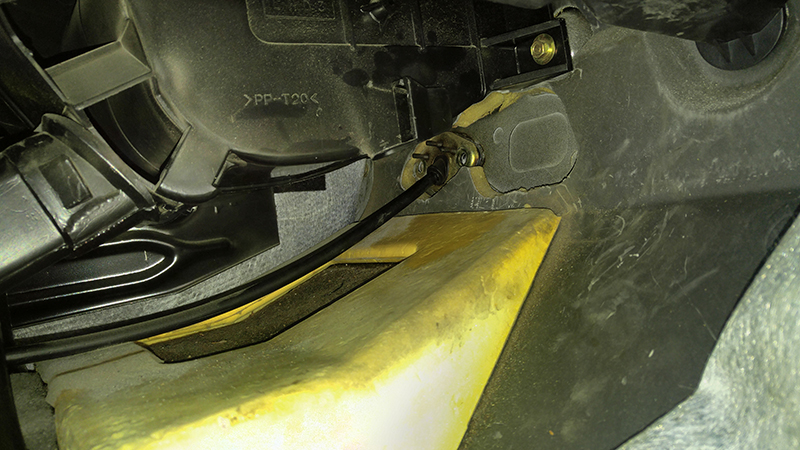
The auto shifter removed.
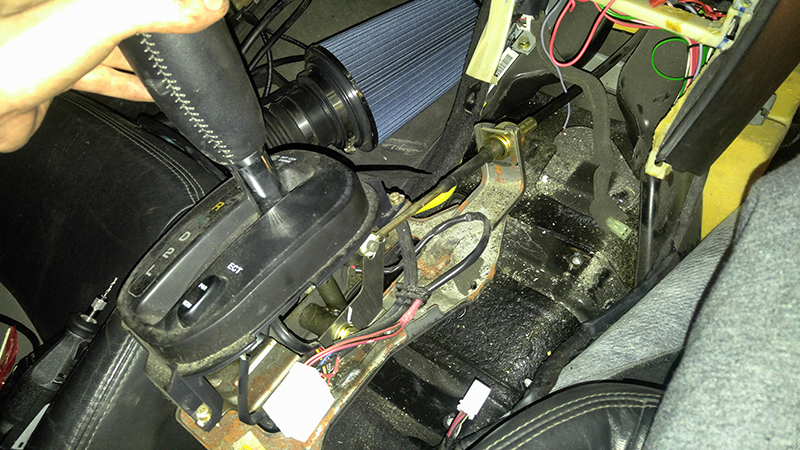
The shift cables from the 98 model to the 2003 model are slightly different, so much that the marked out bracket here would be incorrect. I chose to just elongate the auto transmission hole.
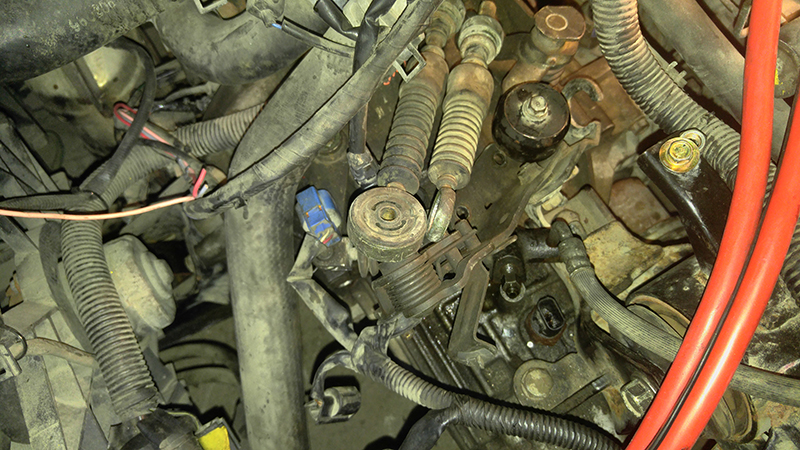
The shift assembly was installed on the transmission, a sparing amount of white grease on all the moving parts.
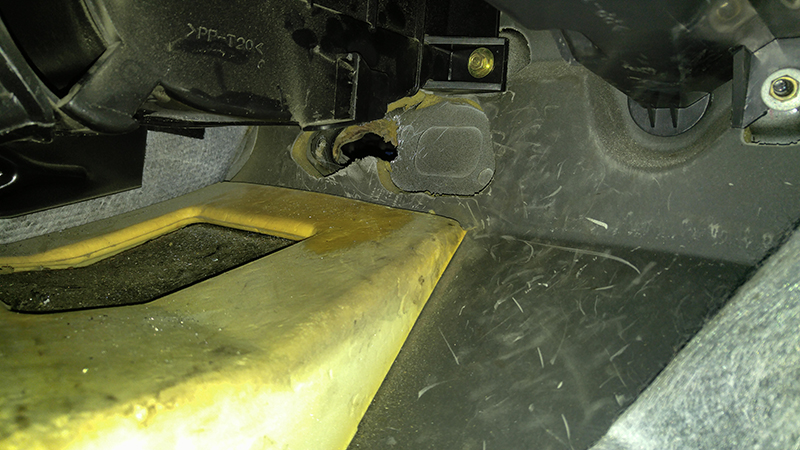
The gear lever required me to drill through the bottom of the car and install bolts.
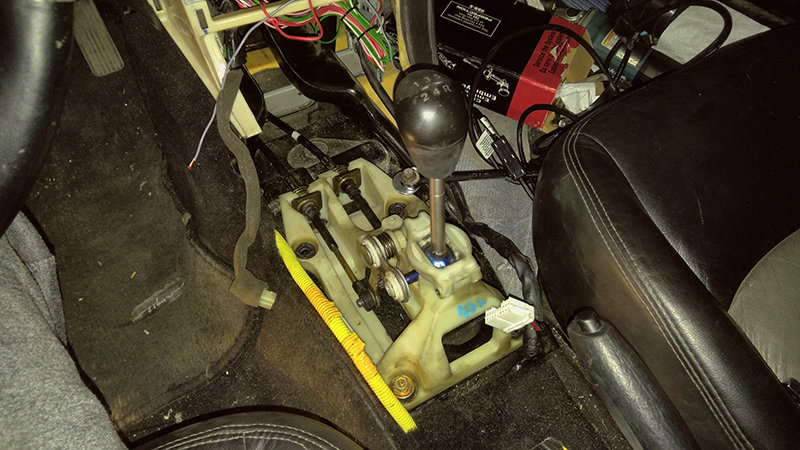
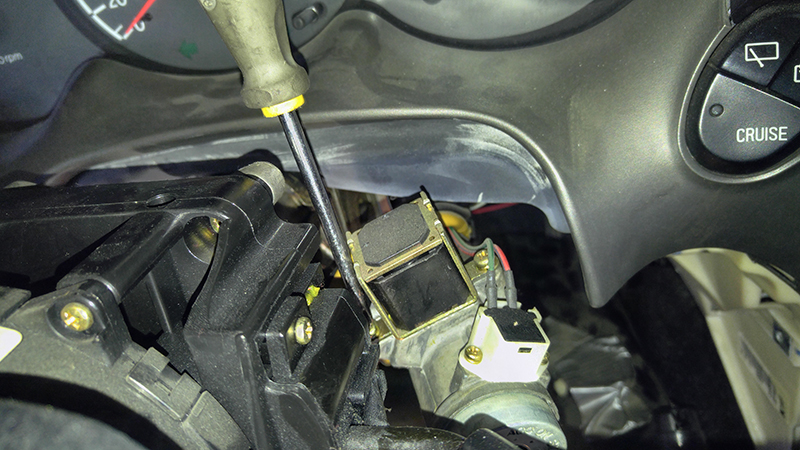
The solenoid removed from the ignition barrel to allow me to remove the key.
The shift selector wires along with all the sensor wires were cut, the speedo cable was plugged into the back of the transmission. The two fattest wires were soldered together, these link the starter solenoid to the ignition supply.
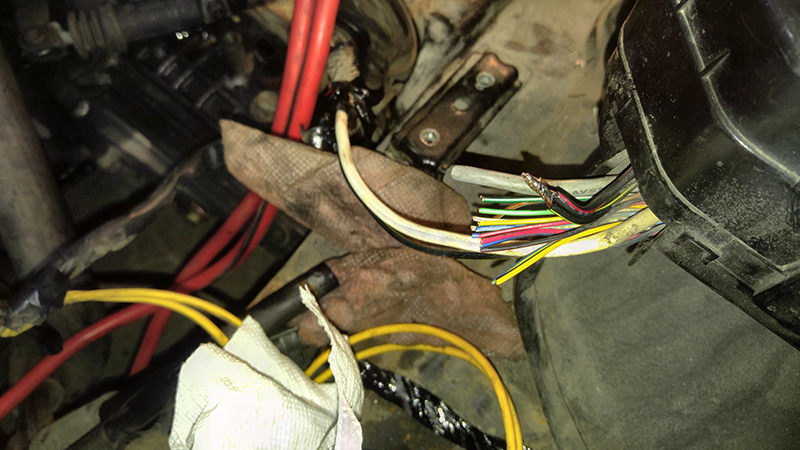
The wires were the protected by heat shrink, taped together and then stuffed underneath the fuse box.
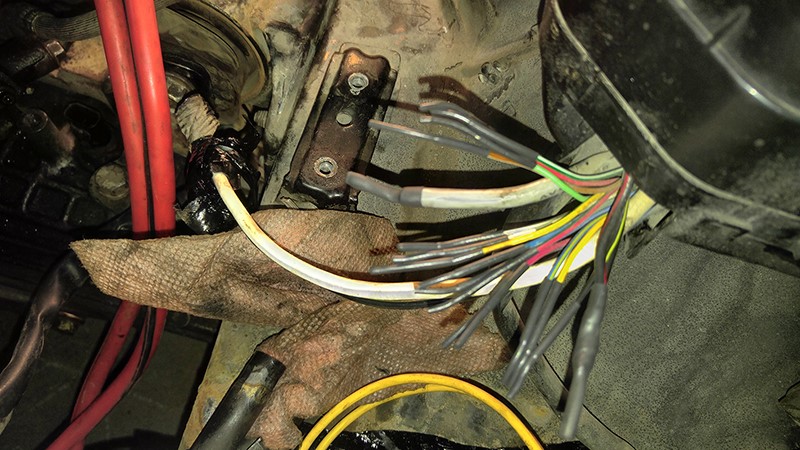
Here is a shot of the front transmission mount, it required me to add a few spacers in order to get the correct alignment. If I manage to find a 98 model in the scrap yard then I will swap over the subframe.
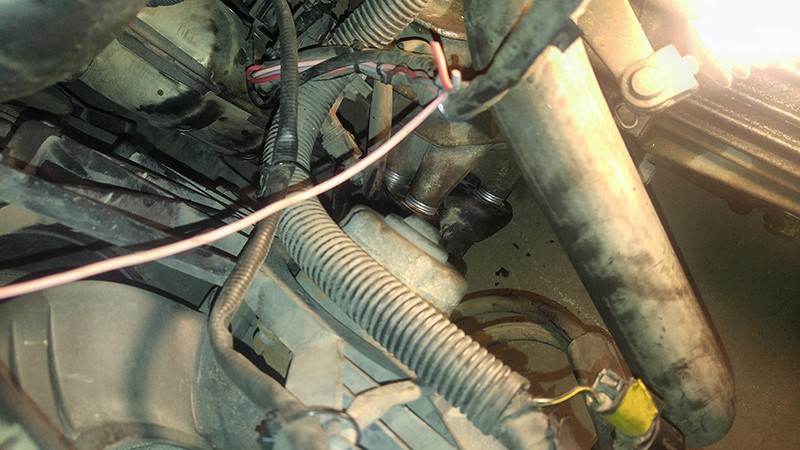
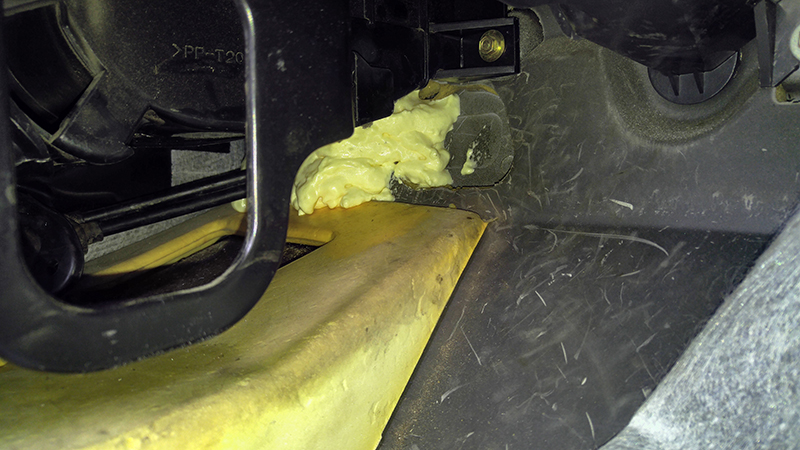
The last thing was to place a piece of plastic tube around the shift cables and then using expanding foam to hold them in place. If I ever need to replace the cables then the foam can be melted with an aerosol.
The last step was to fill the transmission with 2L of 75-90 synthetic gear oil. I'm sure that I missed a few steps out but anyone taking on this kind of work should be able to read in between the lines. The car was completely different to drives, so much that I enjoy driving the car and have vowed never to buy an auto again.
Overall it took me three days to complete and I ran into issues such as the flywheel, I'm sure it could easily be done in a single day. I managed to do all of this on my own in a condo parking slot with minimal tools, it really isn't a difficult job and definitely well worth it in the end.
Please check out my other projects, this car is destined to be a project car, so keep checking for further progress.
Hello, if you have enjoyed reading this project, have taken an interest in another or want me to progress one further then please consider donating or even sponsoring a small amount every month, for more information on why you may like to help me out then follow the sponsor link to the left. Otherwise you can donate any amount with the link below, thank you!