Machining a Mould
At the time of writing this (2020), I am a mould maker. I am able to show how I make these moulds but unfortunately I am unable to show any drawings on both the finished part and the mould itself. I also cannot show any dimensions, but I will say that all dimensions are machined to within a ± 0.001" tolerance. I am also unable to show the finished product and moulding process. I use this site as a portfolio to my resume / CV, it shows what I can do.
It is best to check out some of the other pages on how I machine these moulds, for this page there will be no description, just pictures. I now only document moulds that are different to the usual standard.
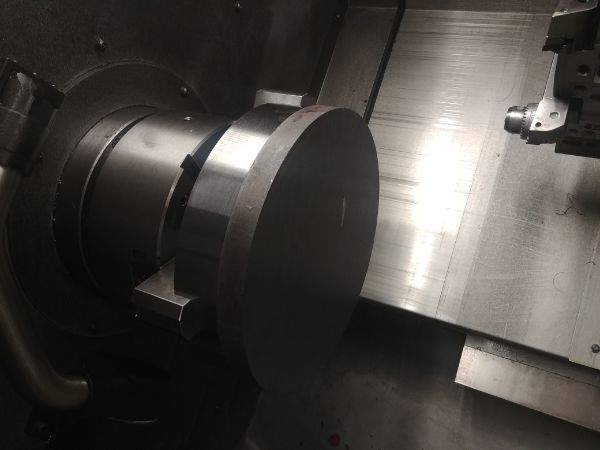
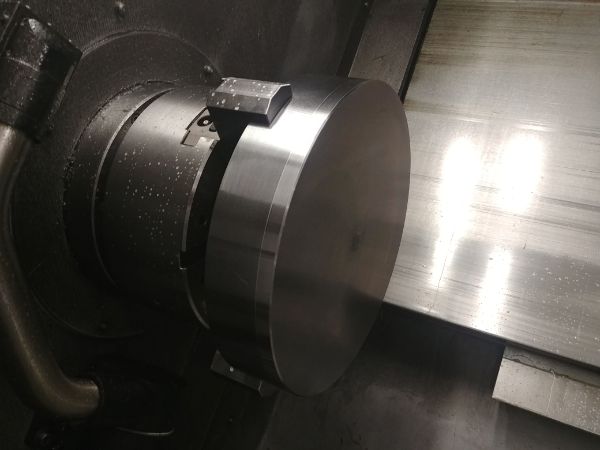
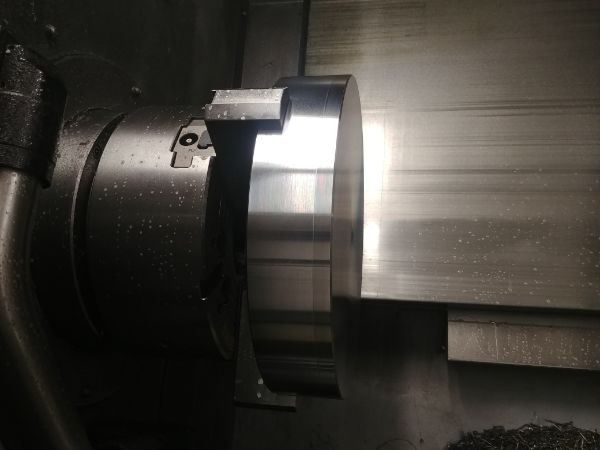
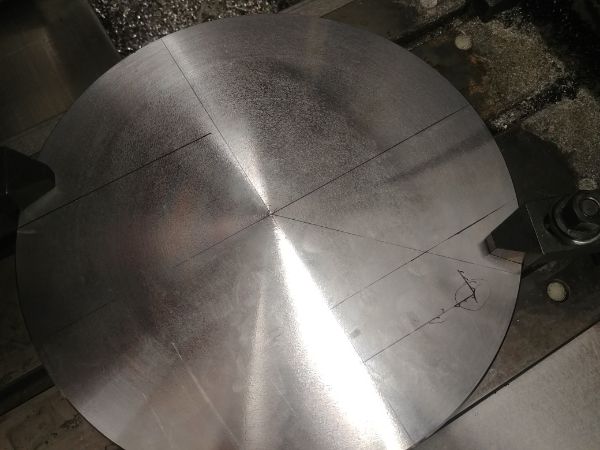
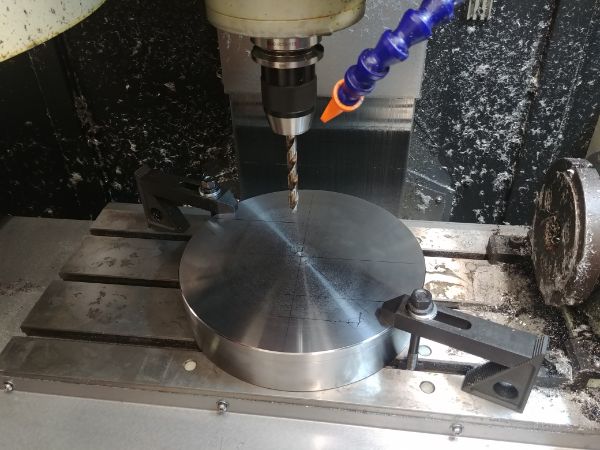
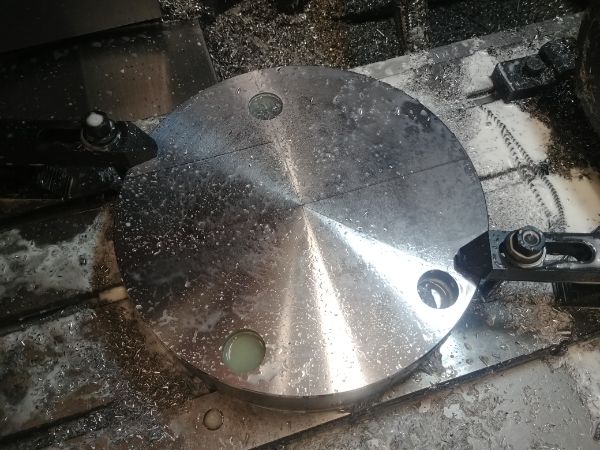
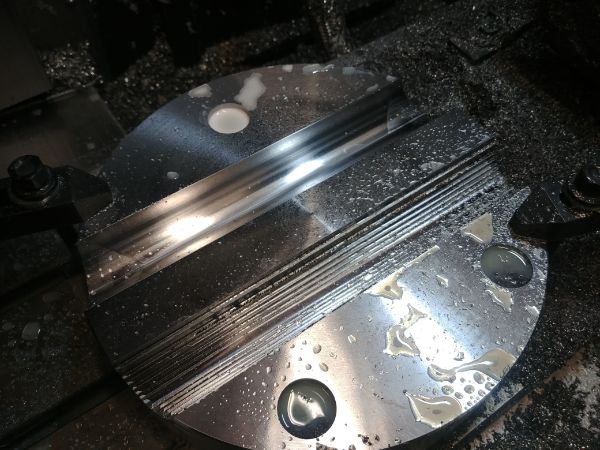
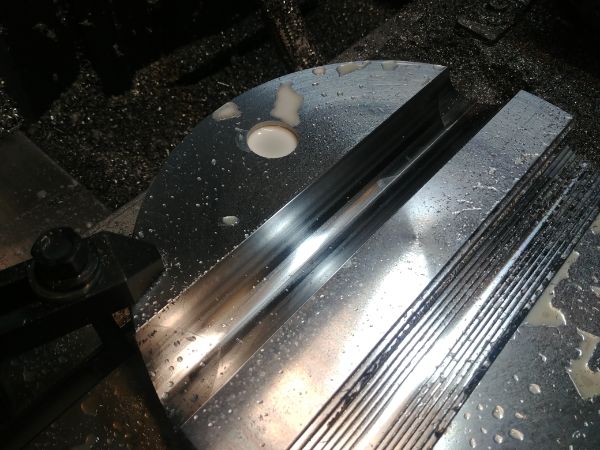
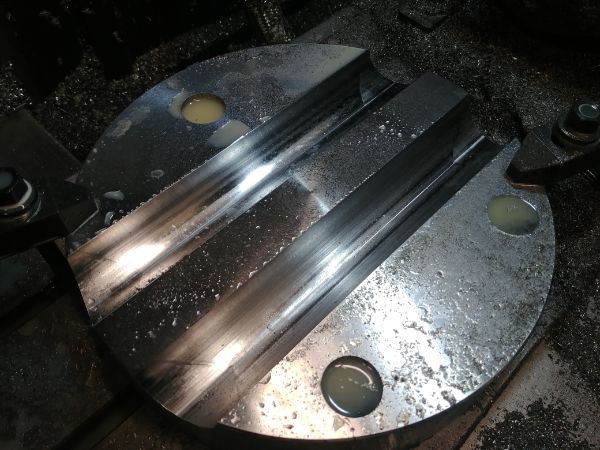
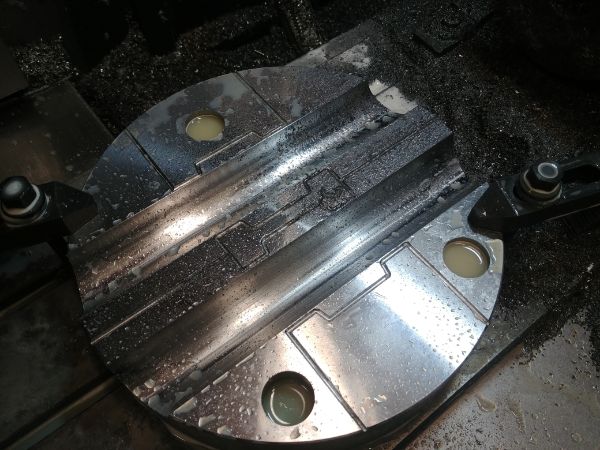
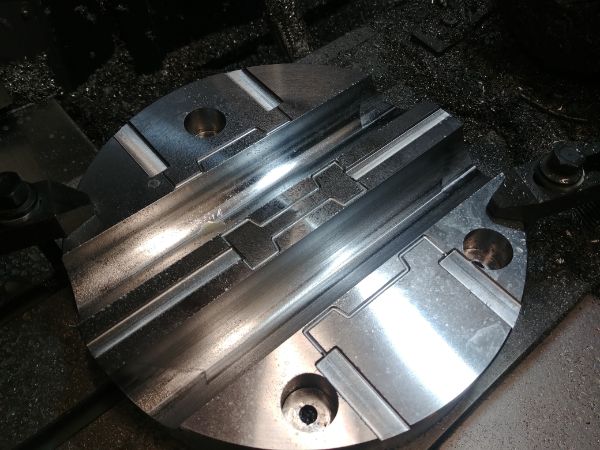
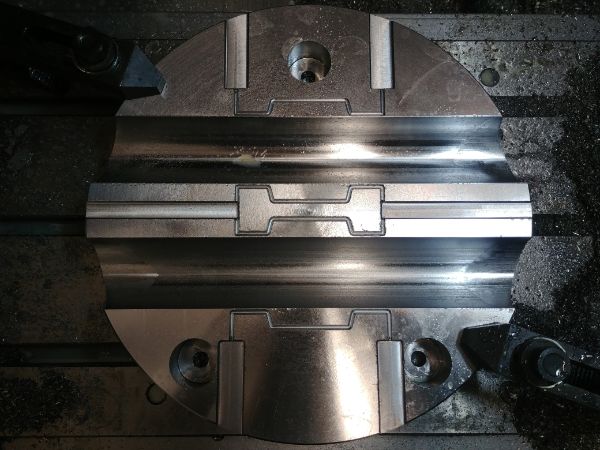
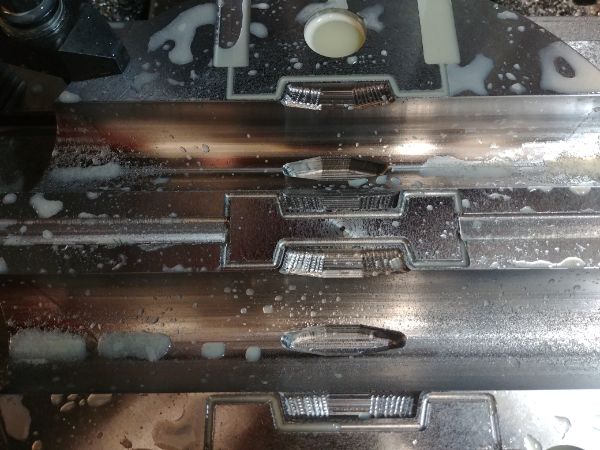
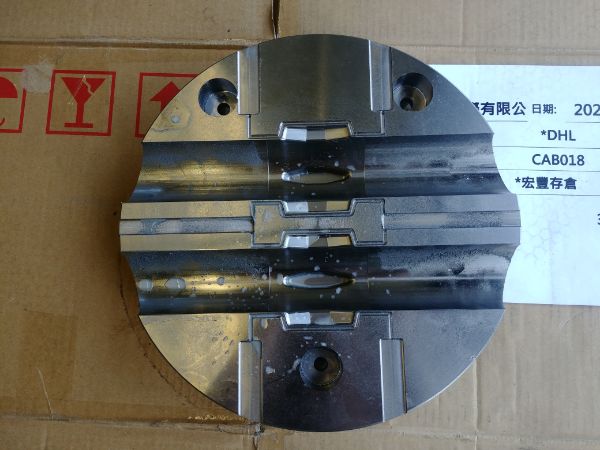
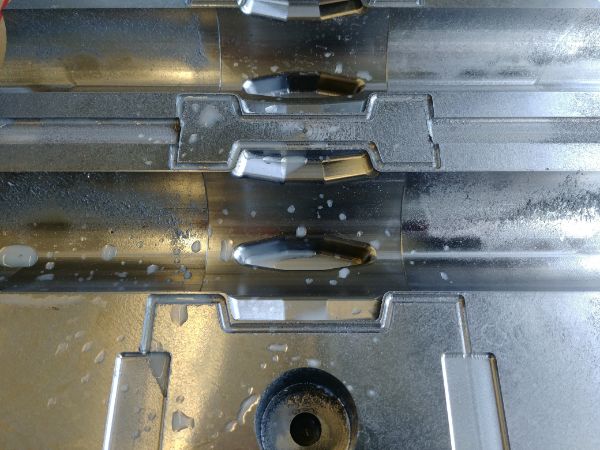
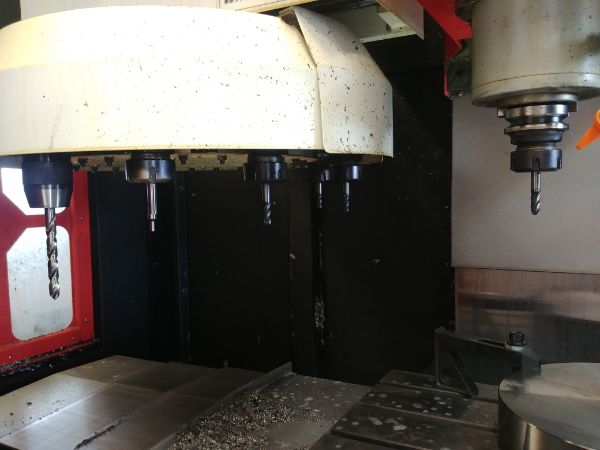
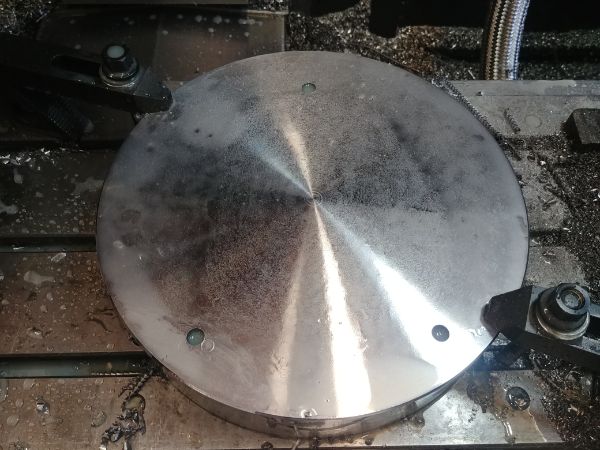
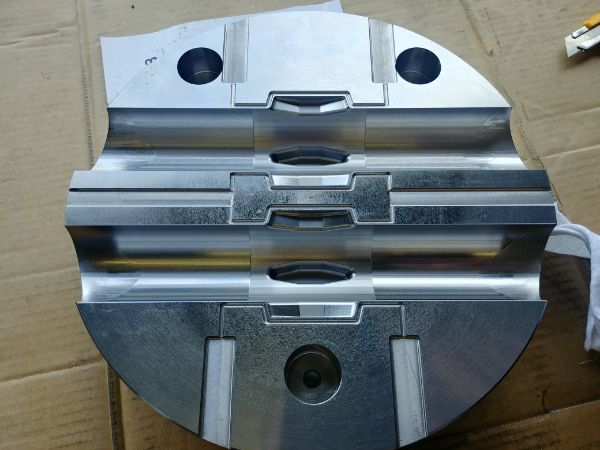
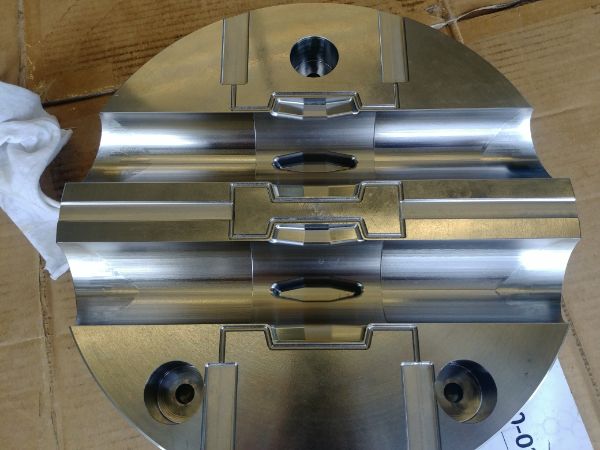
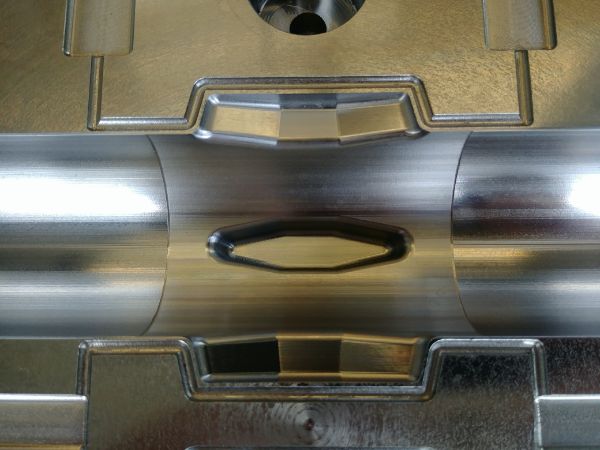
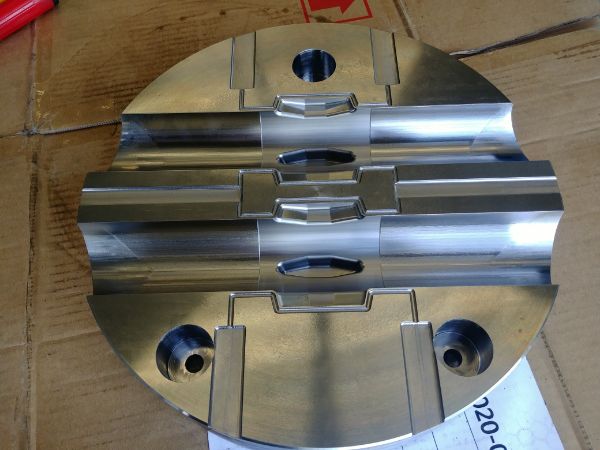
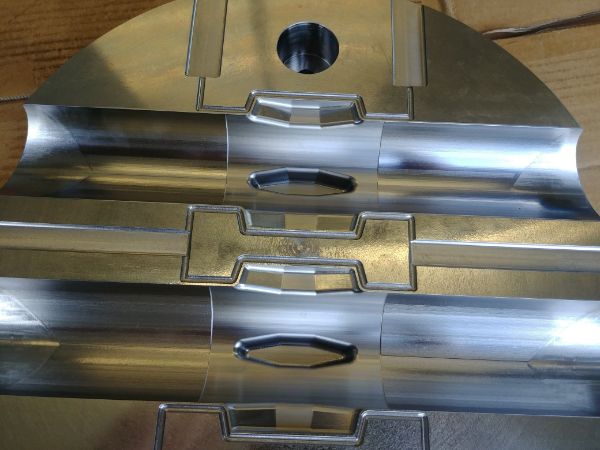
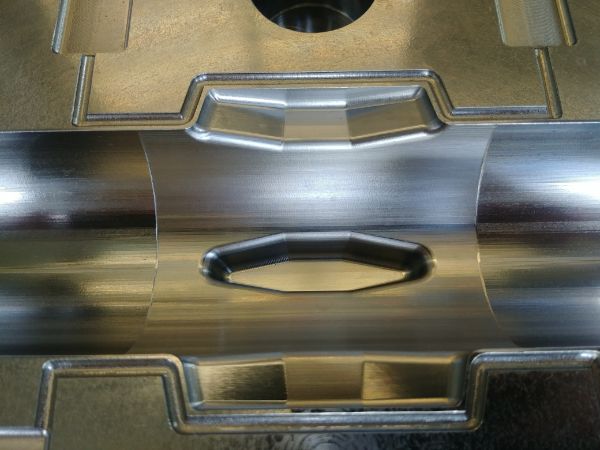
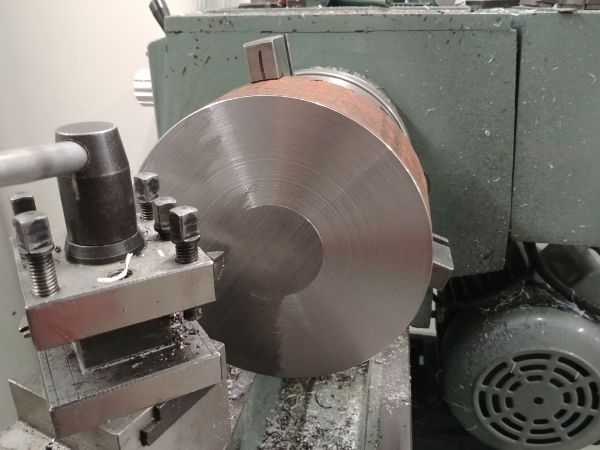
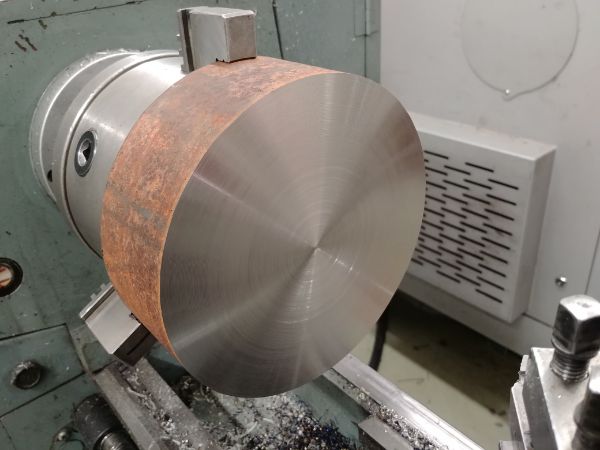
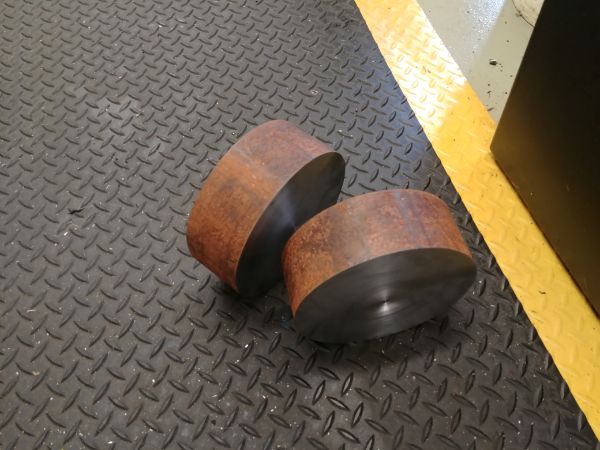
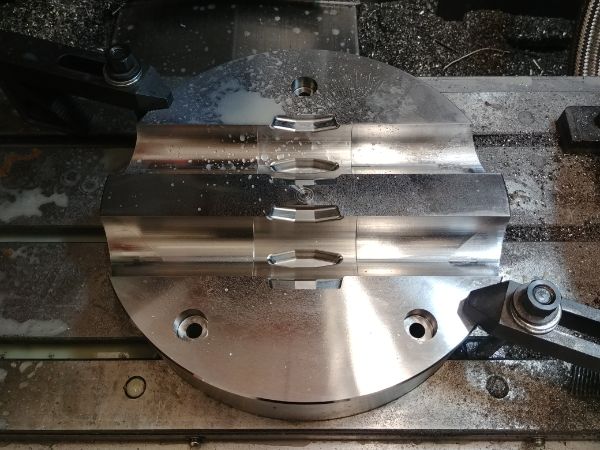
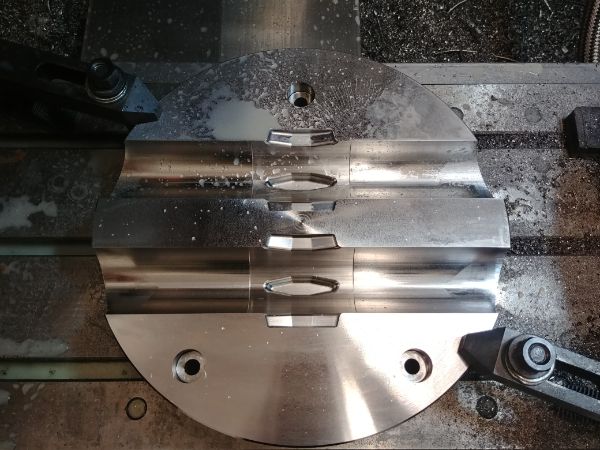
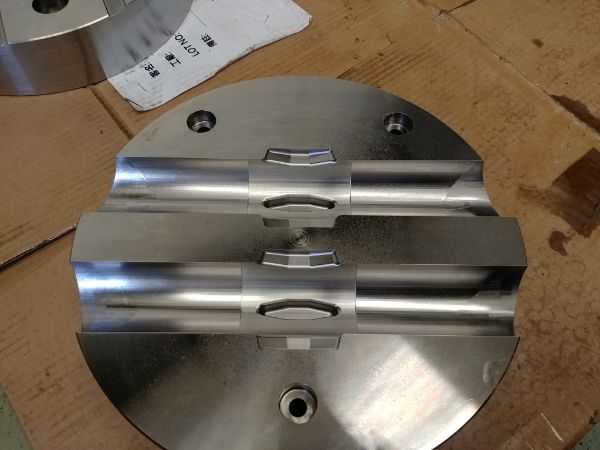
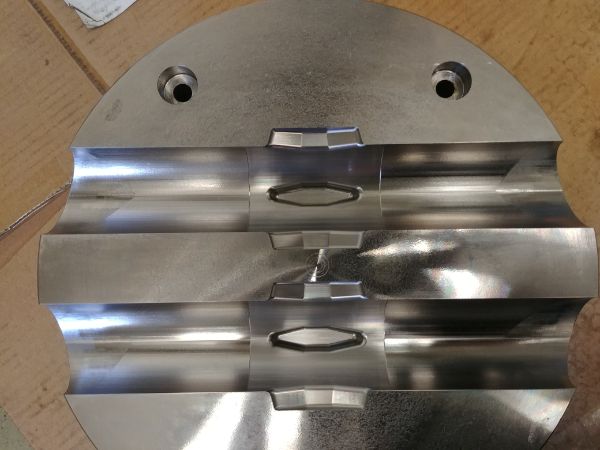
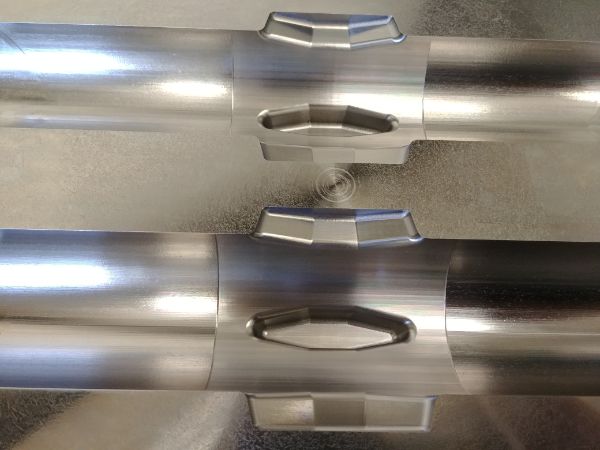
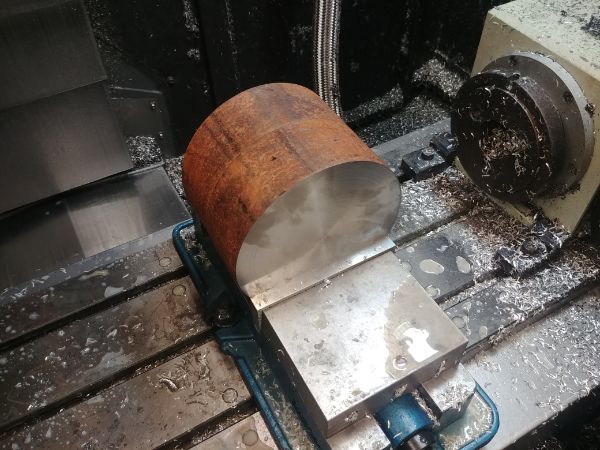
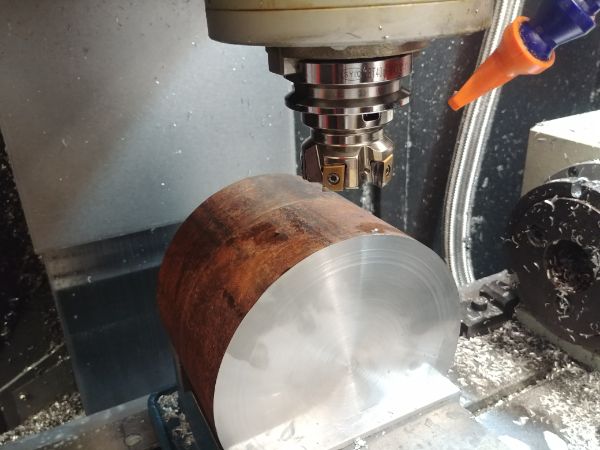
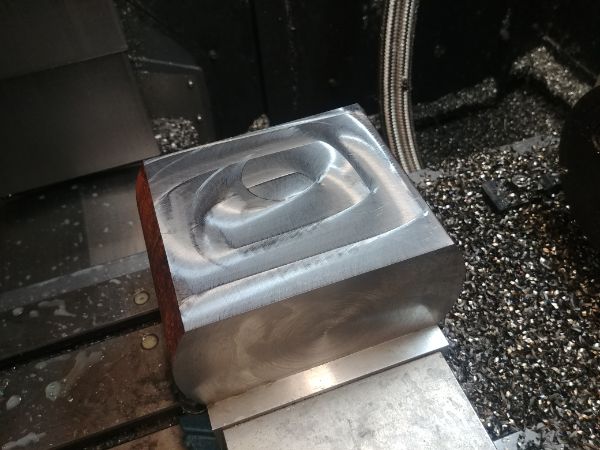
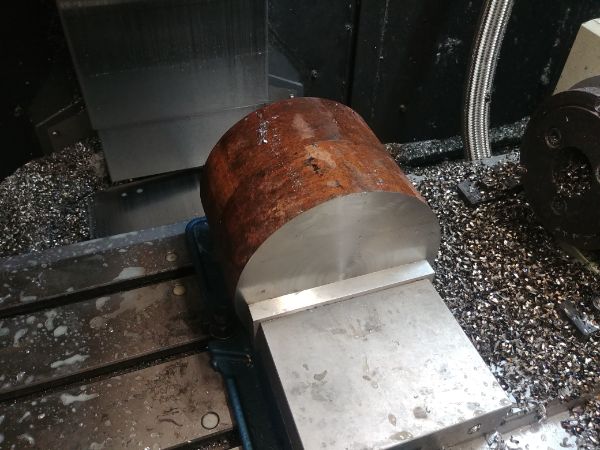
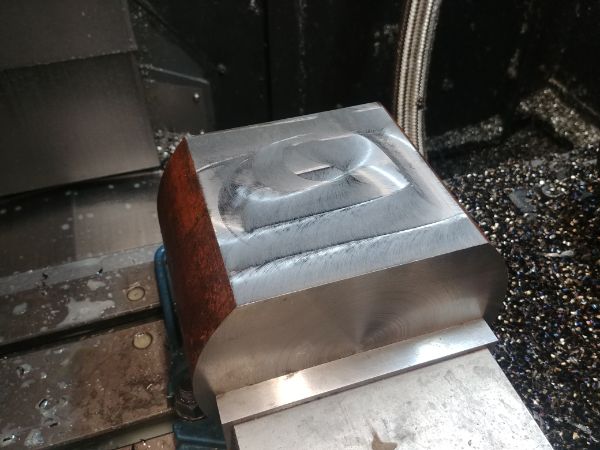
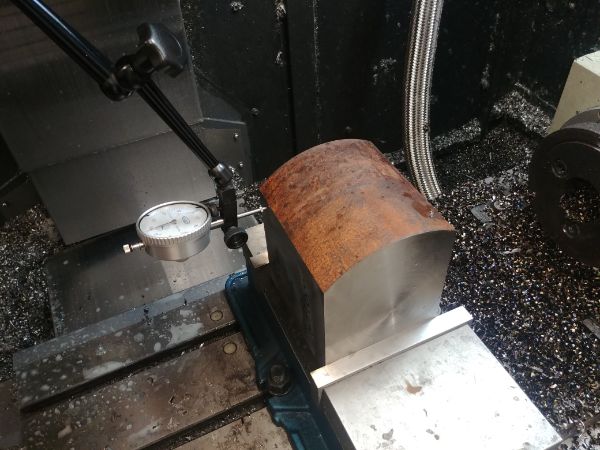
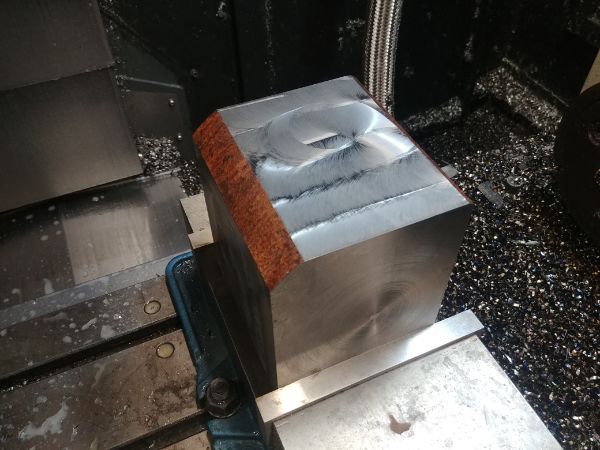
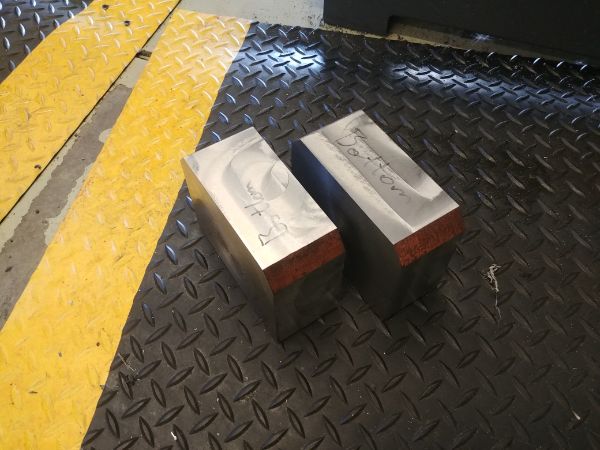
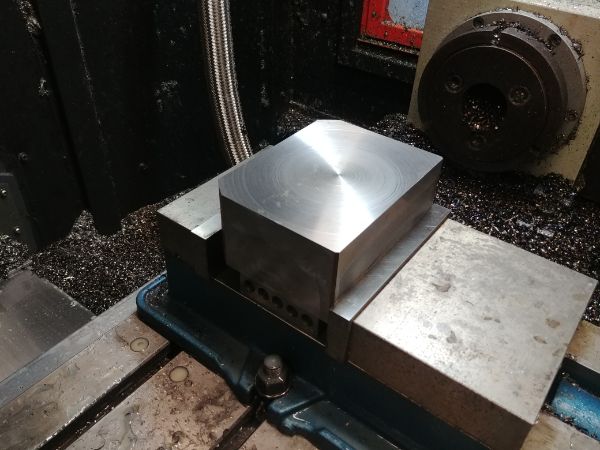
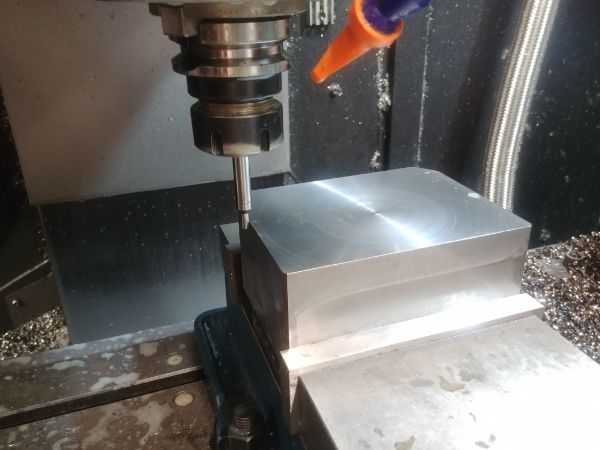
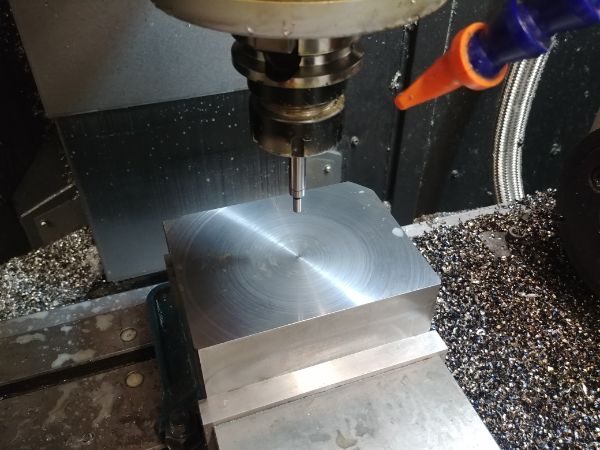
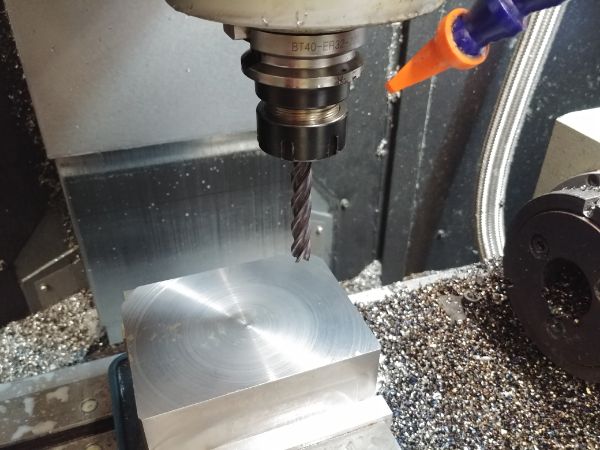
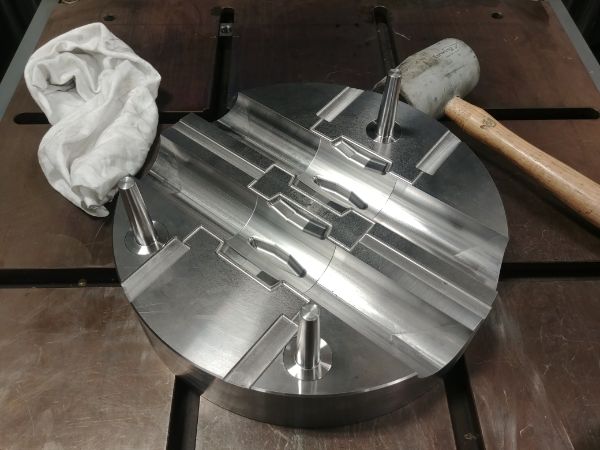
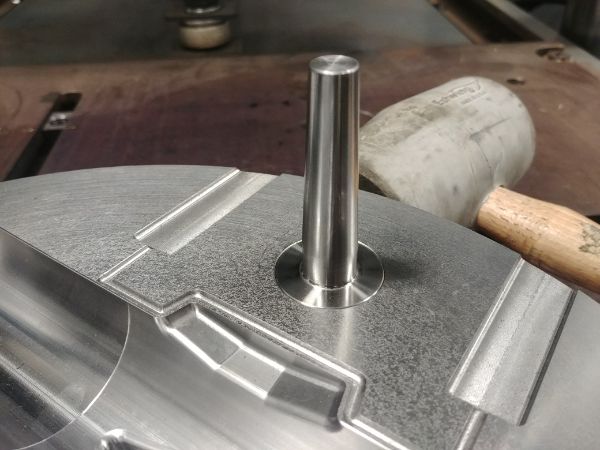
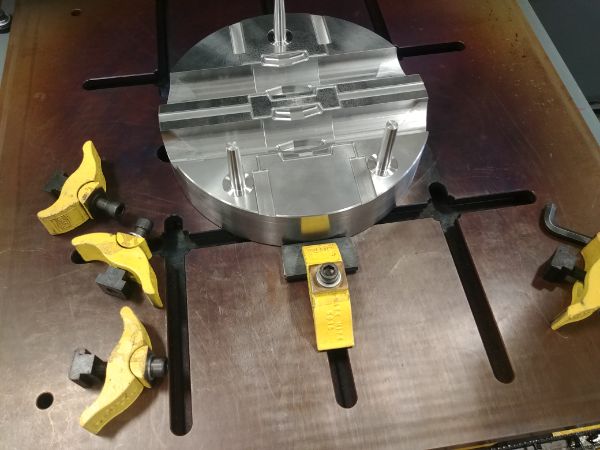
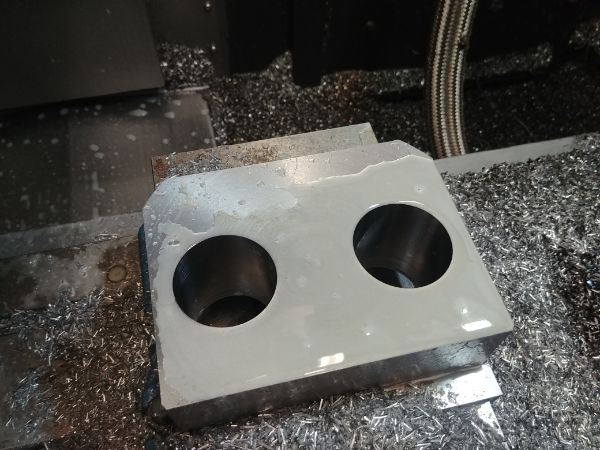
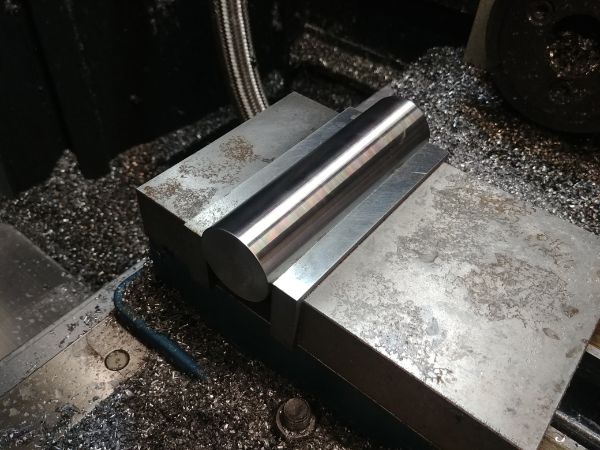
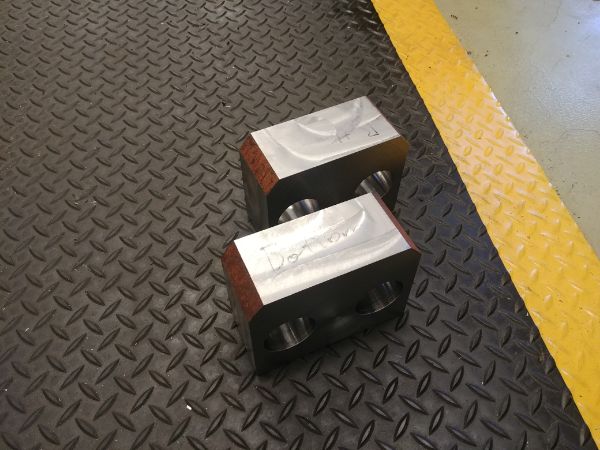
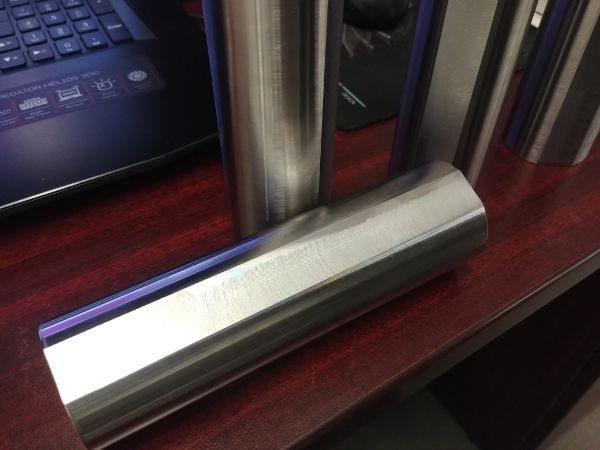
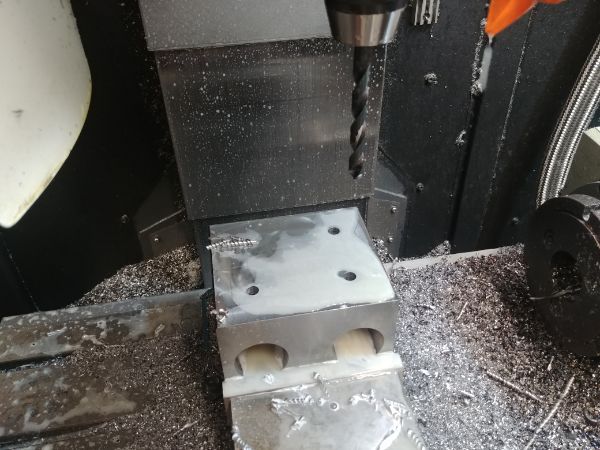
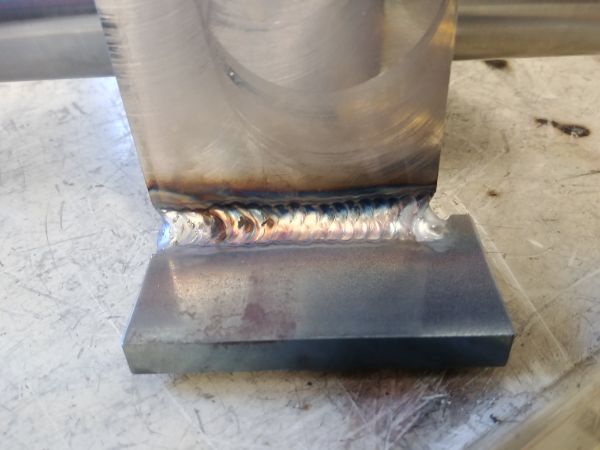
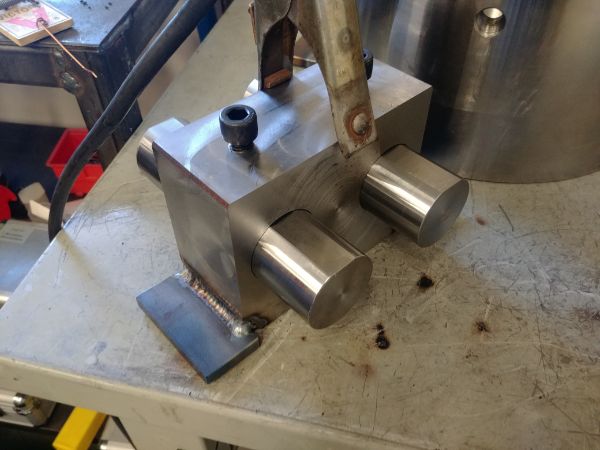
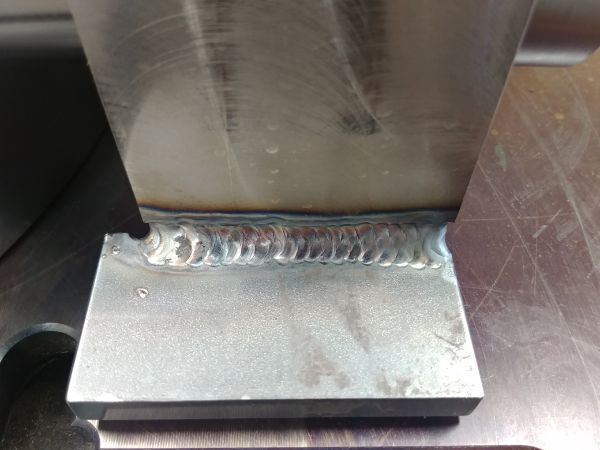
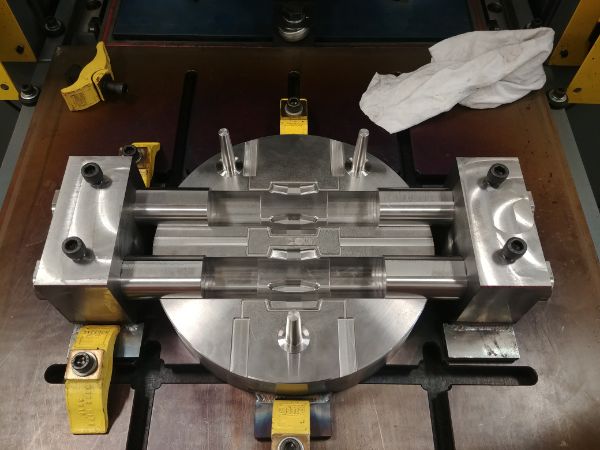
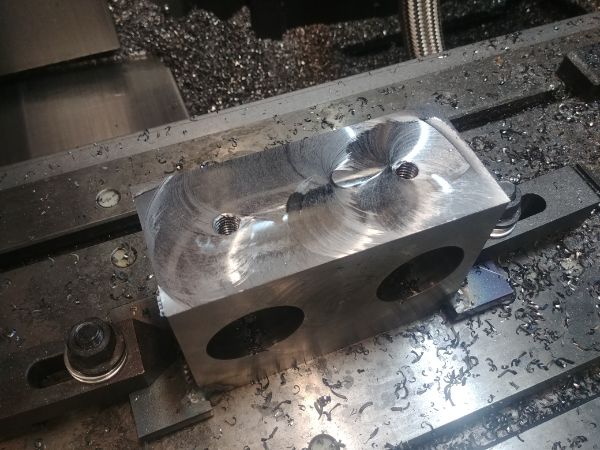
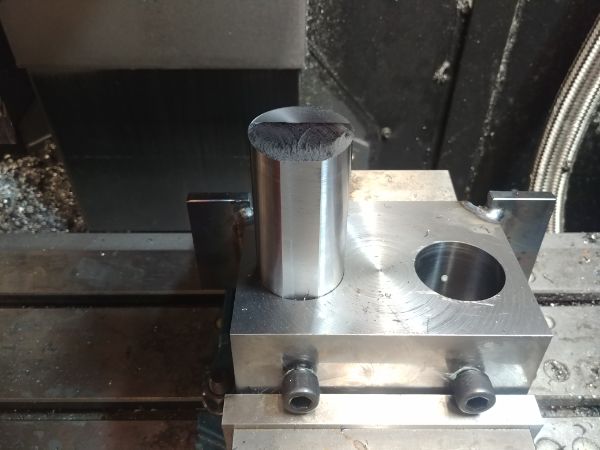
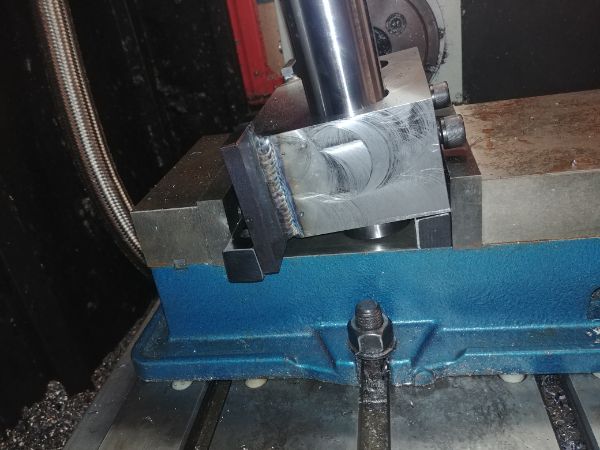
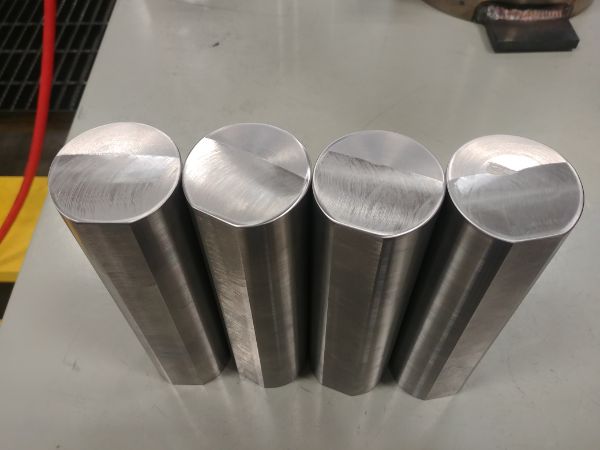
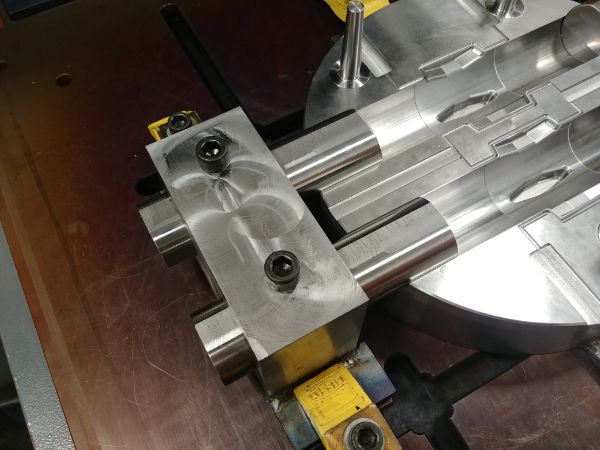
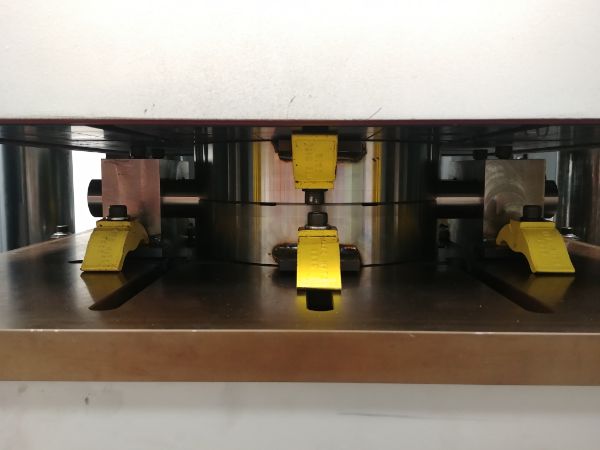
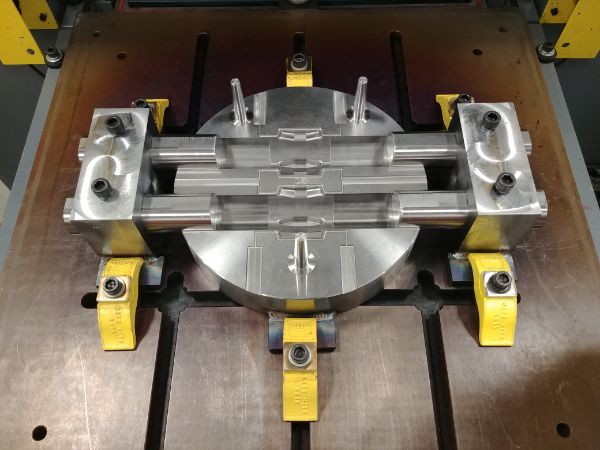
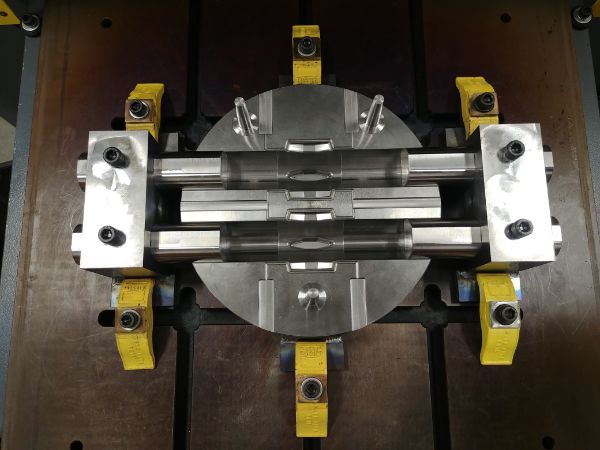
The mould complete.
Update 2021 January
The customer decided they wanted a different profile, so instead of starting from scratch I chose to rework the old one. I started out by making some inserts, these will be the cavity themselves, this is so that it can be modular. If the customer chooses to change their minds again then I can just make some more inserts. The only issue with rework is the alignment, hopefully I did a good job the first time around. I also started to take a different approach with my machining. I had always used coolant, there seems to be a big divide on those who do and those who do not. I did a lot of playing around both at work and at home to see the difference in both finishes with or without coolant.
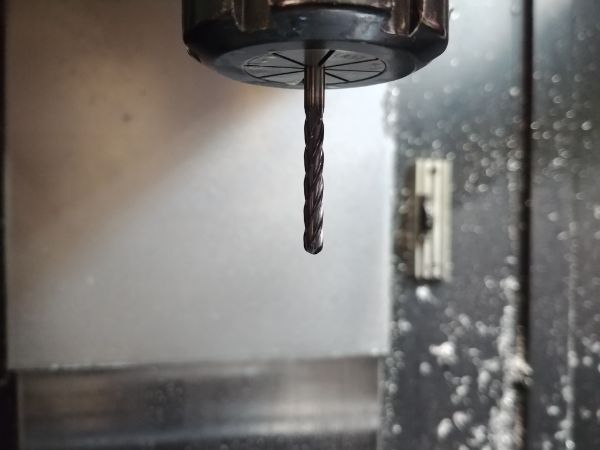
The tool life has improved drastically by not using any form of cooling. Using high feeds and small depths of cut are the key to success on using basic tool holding, I am using collets because it's cheap. It makes total sense that the coolant is thermally shocking the carbide, which is apparent going from tool life of an hour to tens of hours. The only time I would use coolant is when doing a very very shallow finishing pass, basically something that generates no heat but requires some lubrication to get a good finish. It is also much nicer not having to clean down parts. On the previous mould I used 10 milling cutters to do the fin roughing and the final finishing, that is not a lot of metal removal. On this mould I used just two cutters, one for roughing and the other for finishing, no chipping at all, the difference being no coolant this time around. The finish did of course suffer slightly but was completely fine for this application.
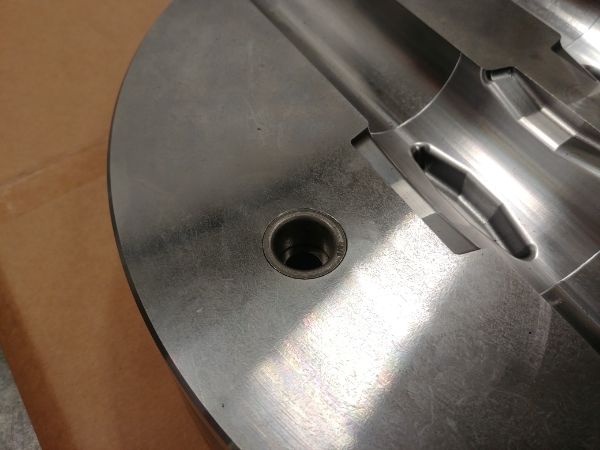
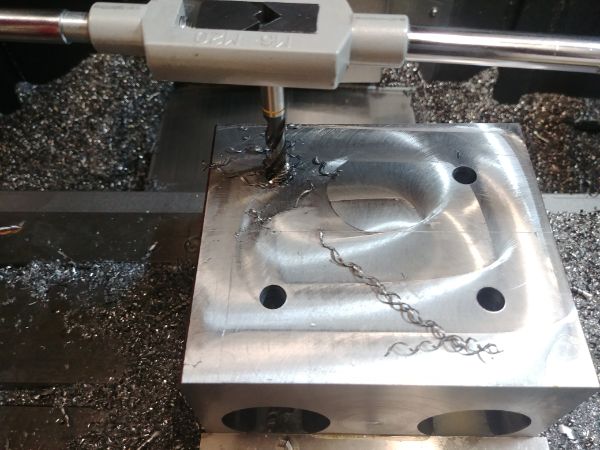
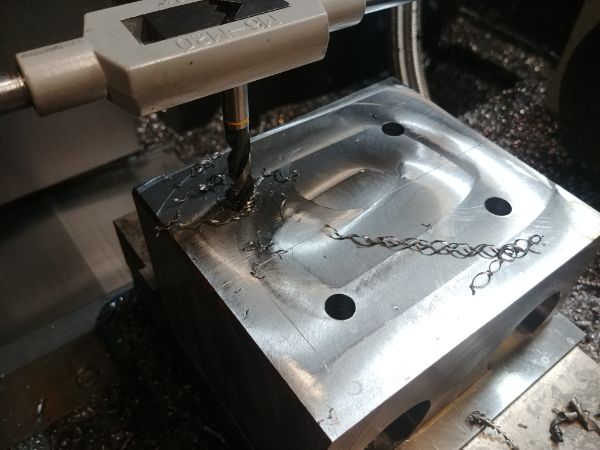
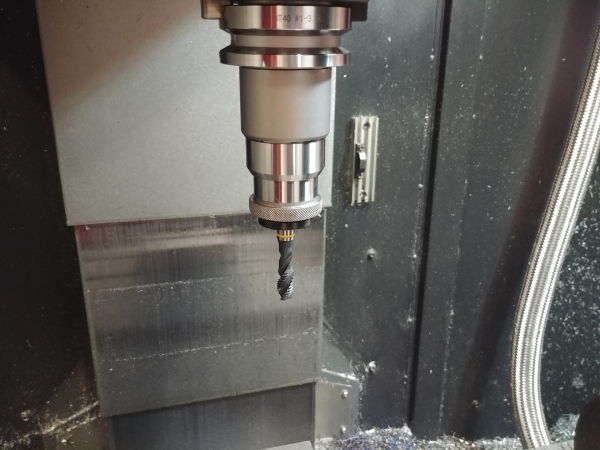
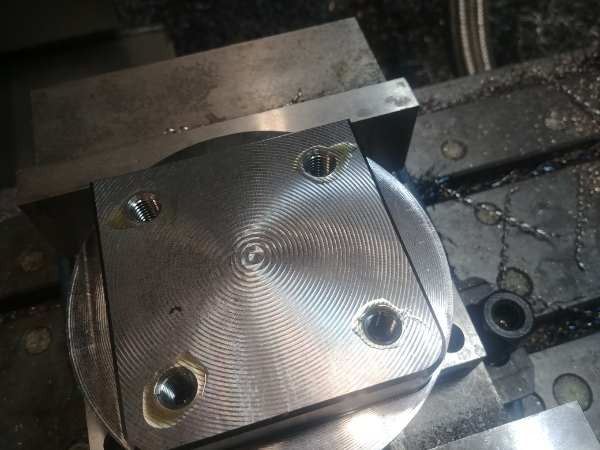
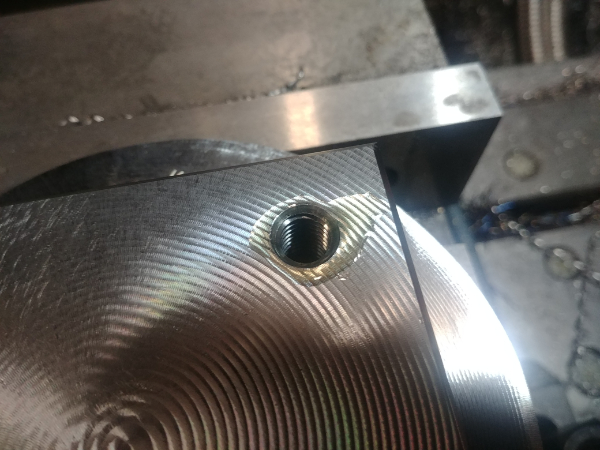
I know from personal experience that cheap tooling is false economy, especially when it leads to scrapped parts. I use a spiral flute tap wherever I can, the cheap yellow band tap shown in the picture chipped in the fourth hole, it probably would have broken in a fifth. I switched to a premium OSG tap and tapped the remaining 12 holes without a hitch. They cost double but I would get hundreds of more threads out of them, kind of a no-brainer, but that is often hard to explain. In the end having a play at home with a basic machine resulted in much faster machining times at work and considerably better tool life. I didn't break or chip a single cutter and went from 80 hours of milling time to 20 by not using coolant, increasing feeds and reducing depths of cut.
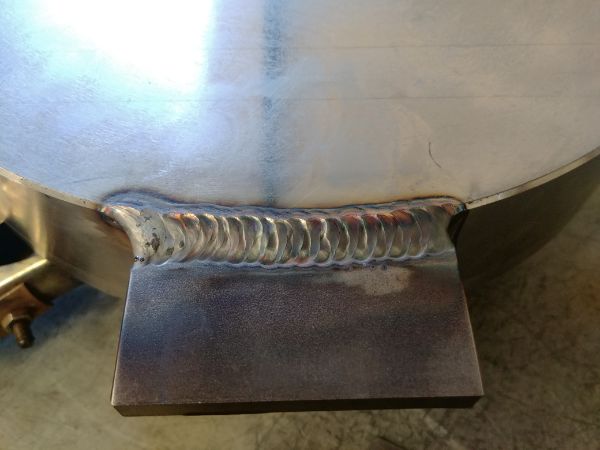
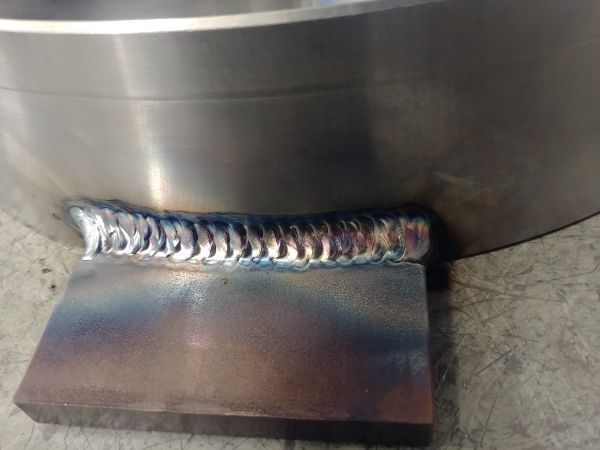
I will also note that the die grinding was not performed by me, our engineer thought saving an hour of setup and milling was worth making the mould look awful. We often show customers their moulds and explain the process to them. What I hate most is cutting corners, which doing something like this to a mould shows the customer that we do cut them. It is also frustrating when I have to patch a mould up with the welder because a mistake was made modifying it manually, which I have done a lot.
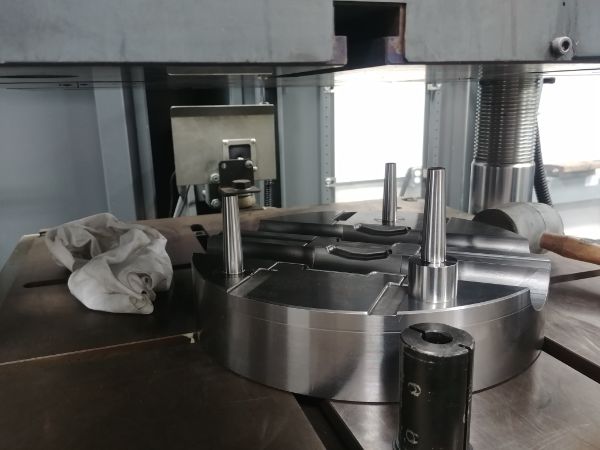
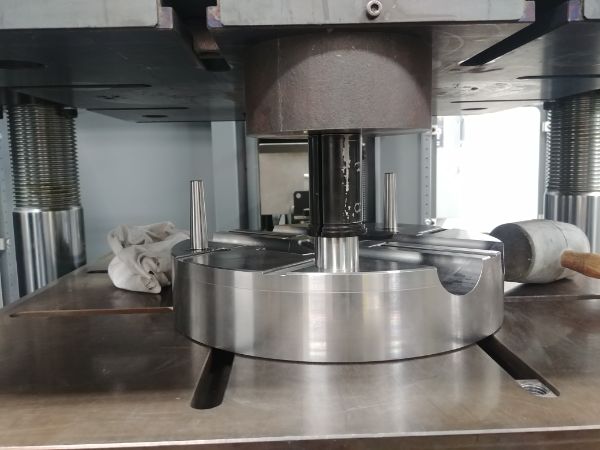
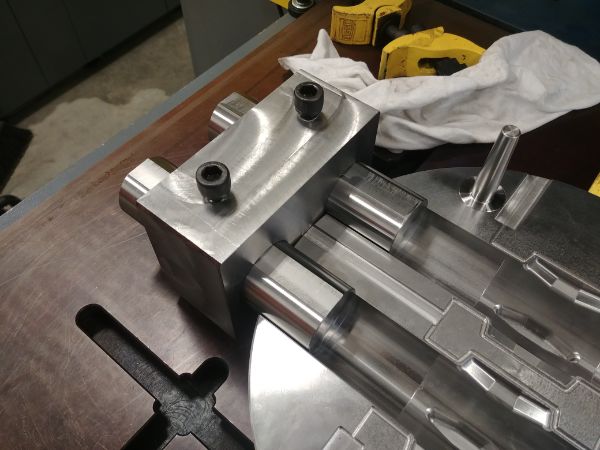
Lastly I will say that the mould came out really good. I managed to get everything within a 1 thou tolerance which is definitely impossible with my machine at home. I also machined out the old locating pins and installed new shorter ones. The last pictures show how well they aligned, it must be to the thou. They often say a bad workman blames his tools, well without an accurate mill I could not have achieved this result.
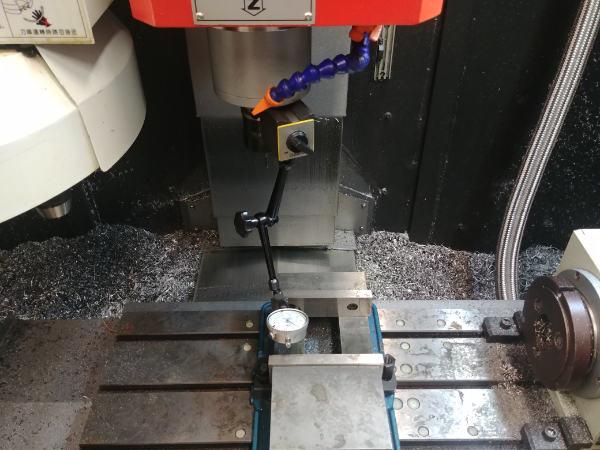
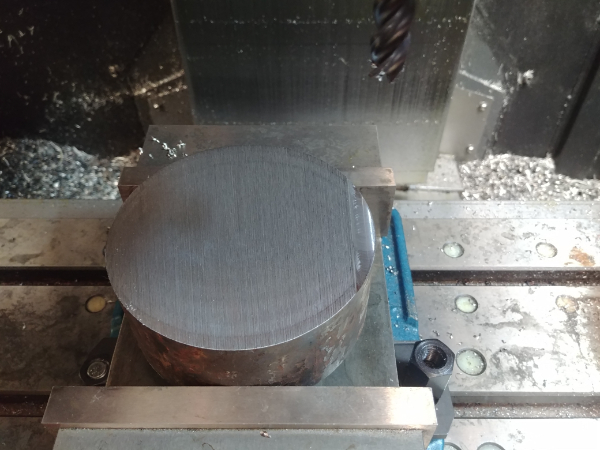
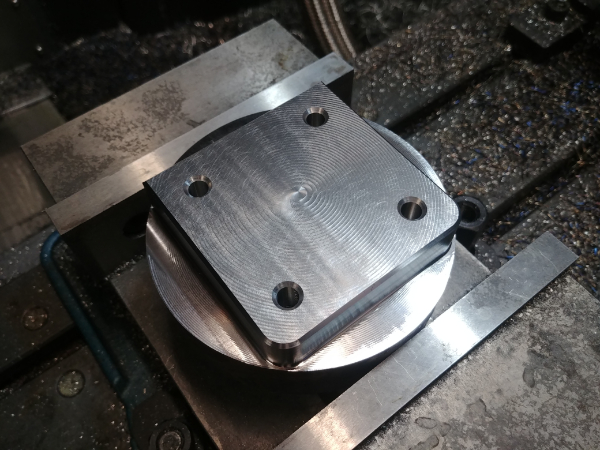
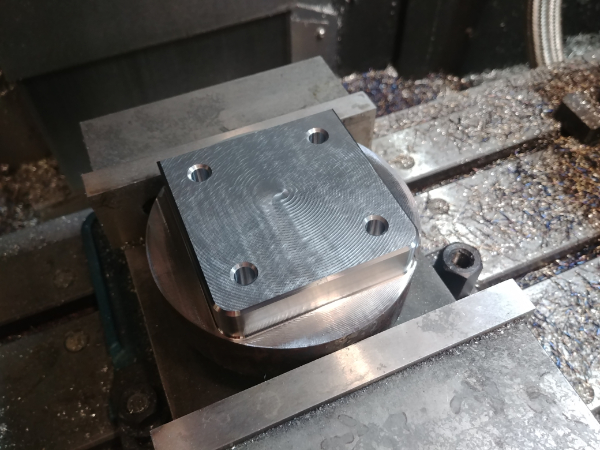
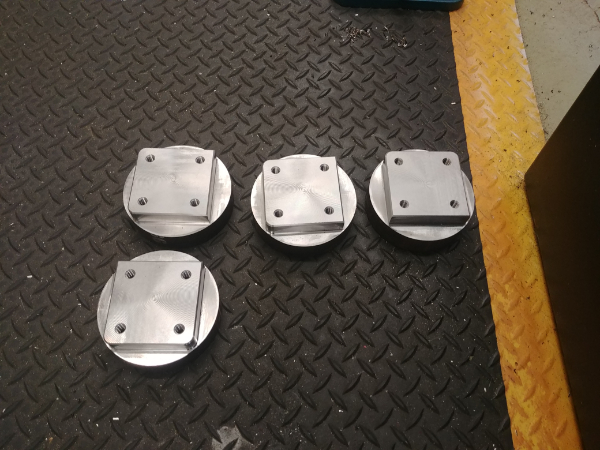
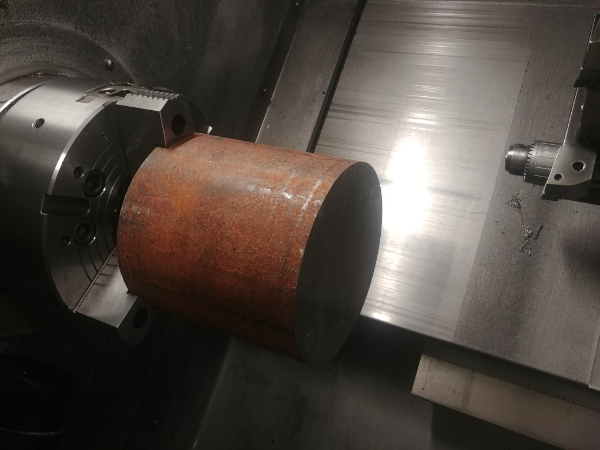
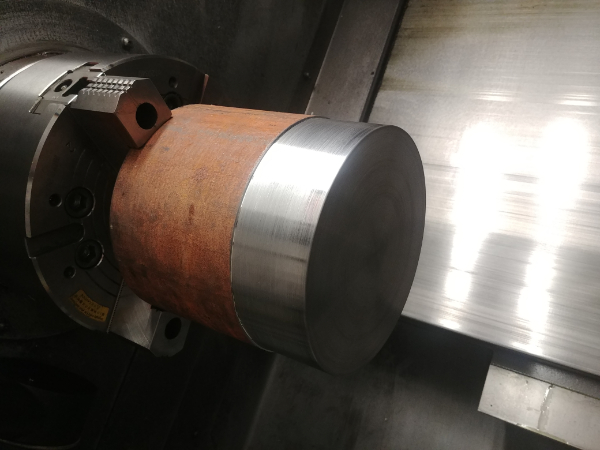
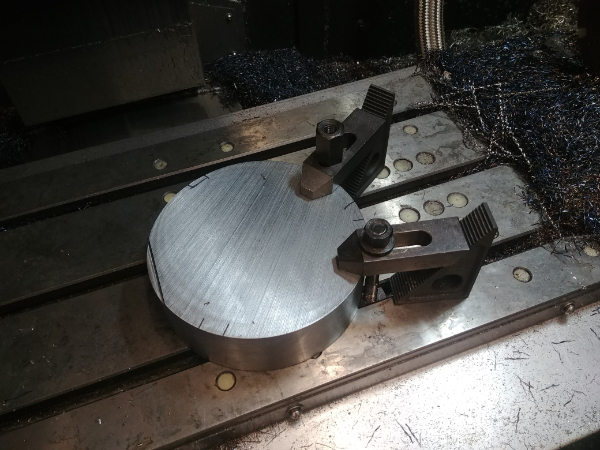

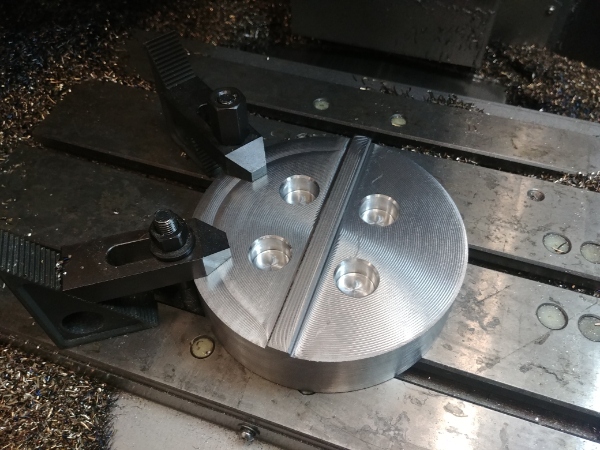
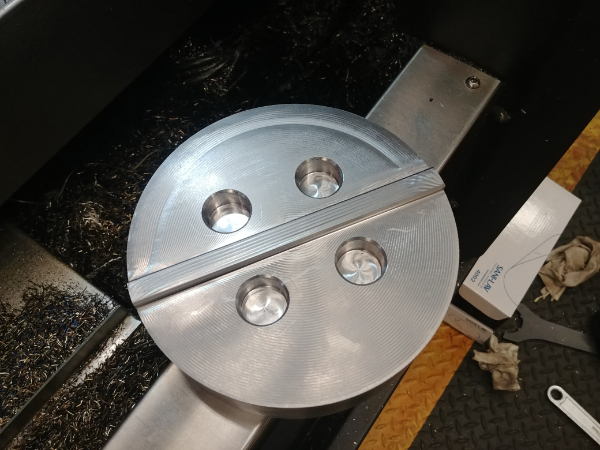
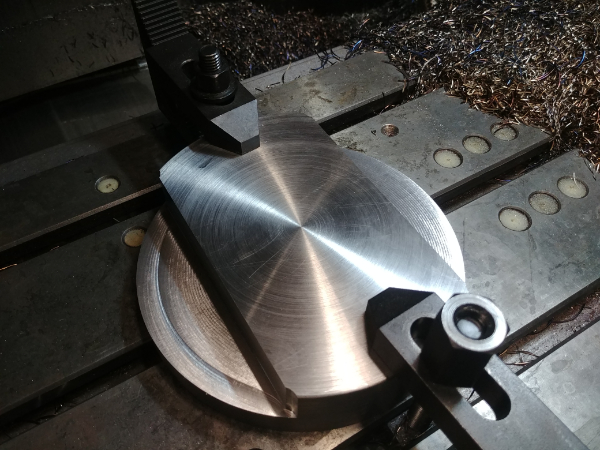
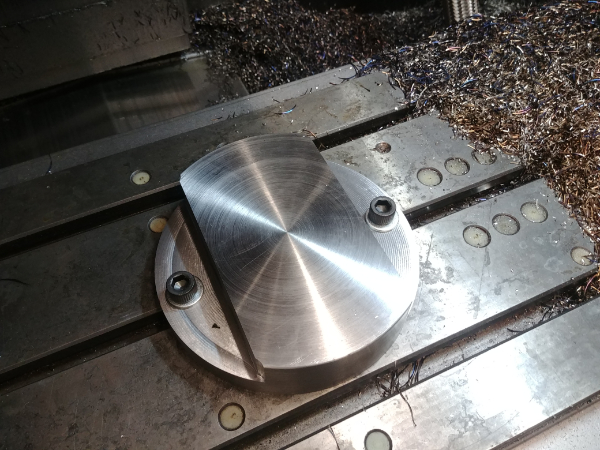
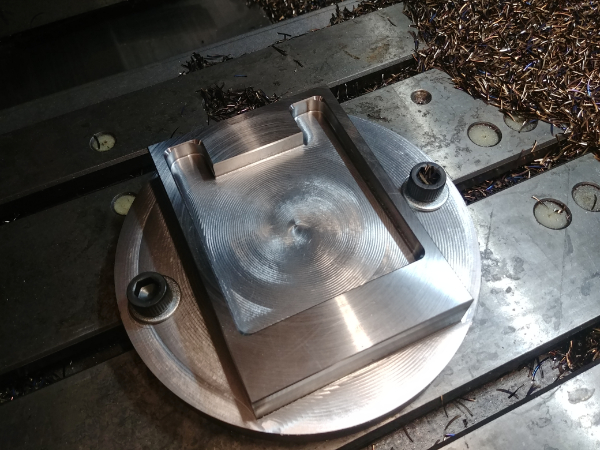
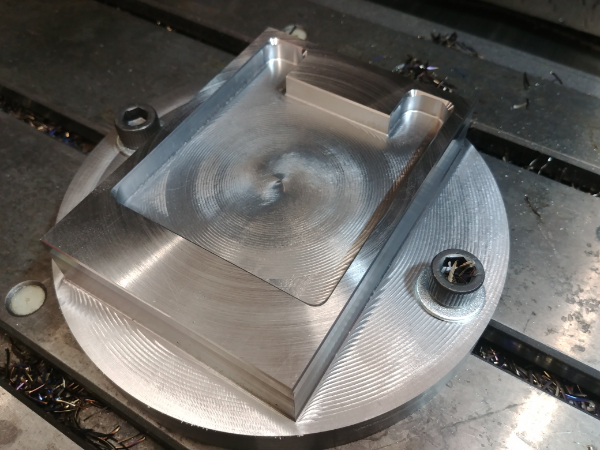
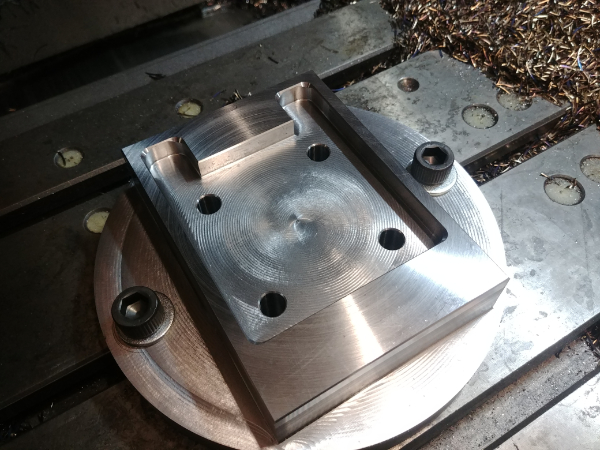
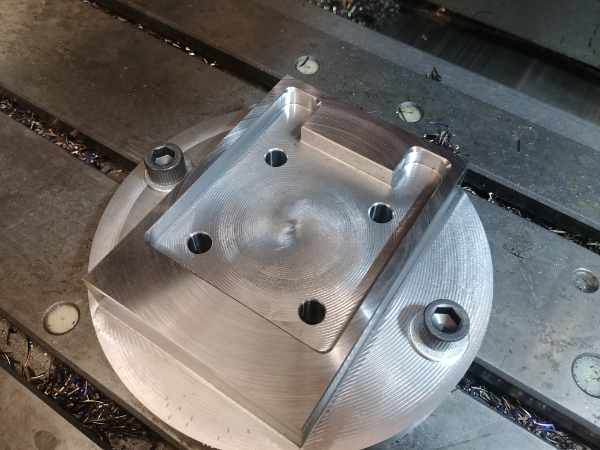
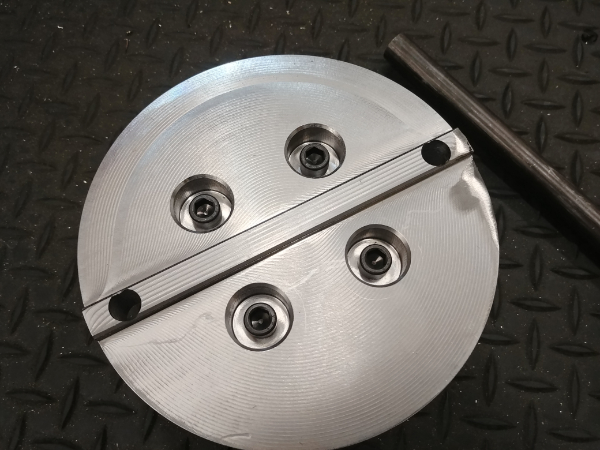
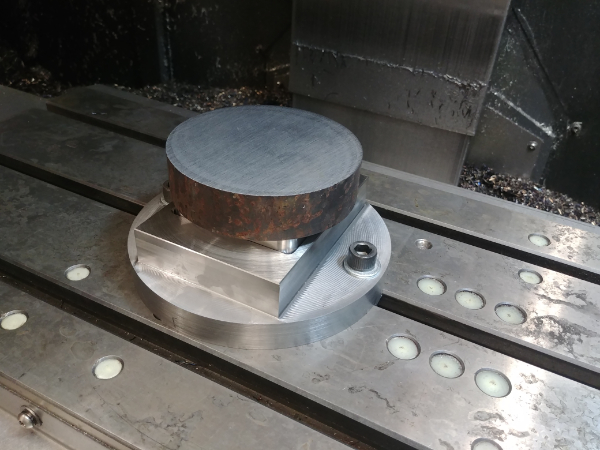
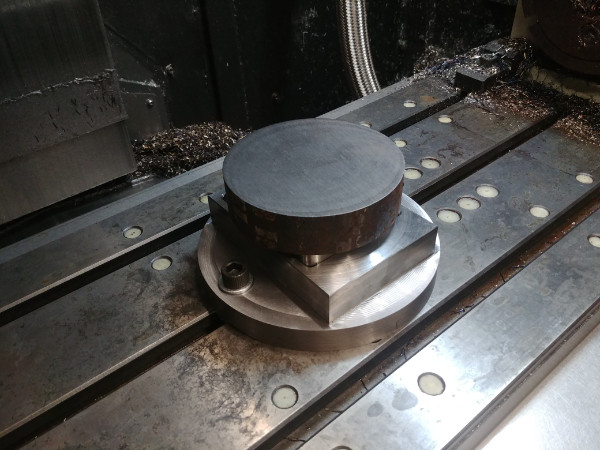
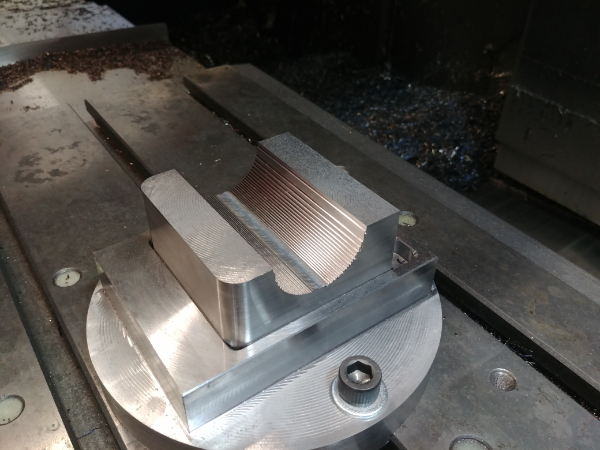
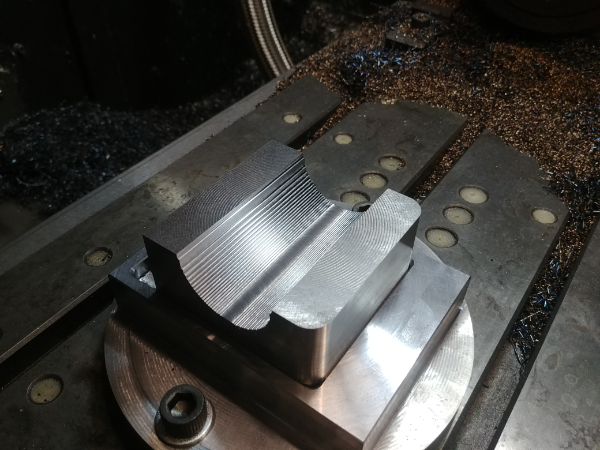
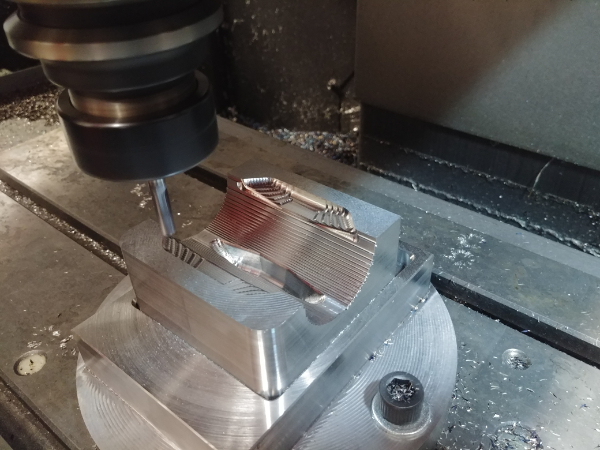
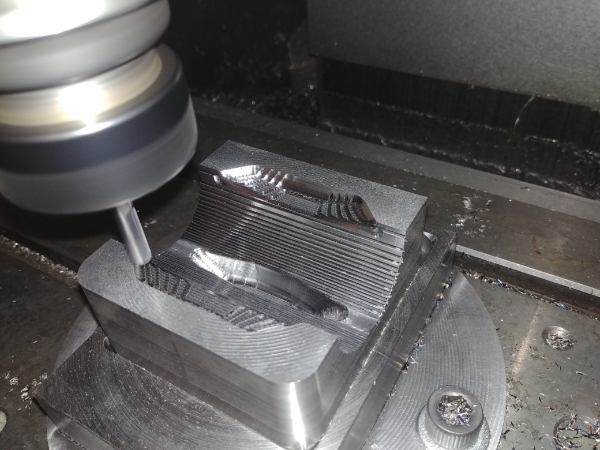
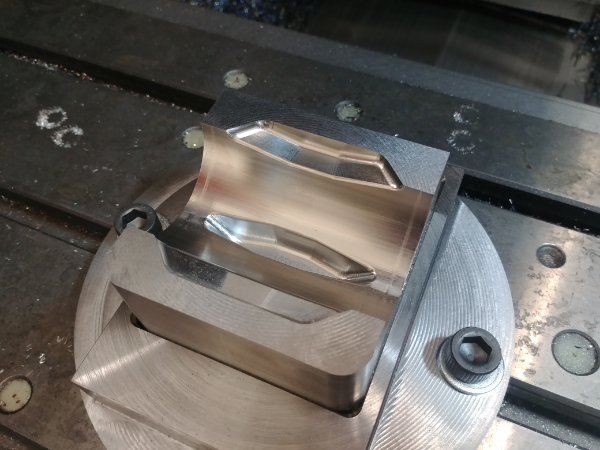
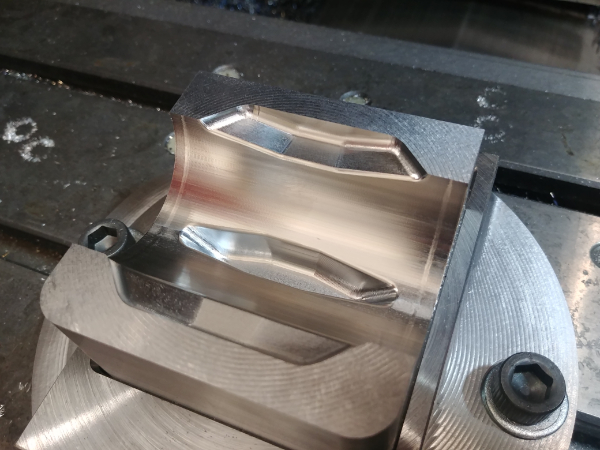
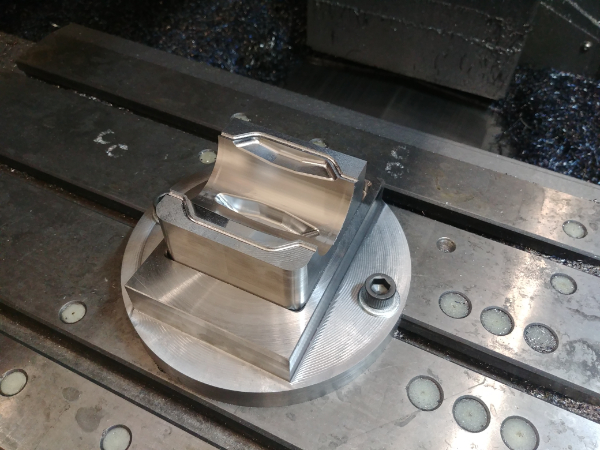
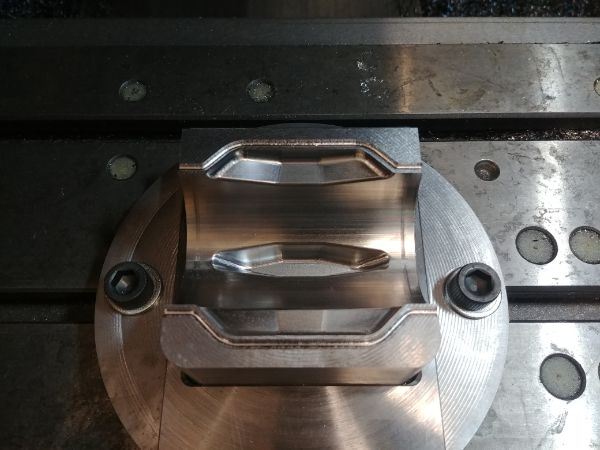
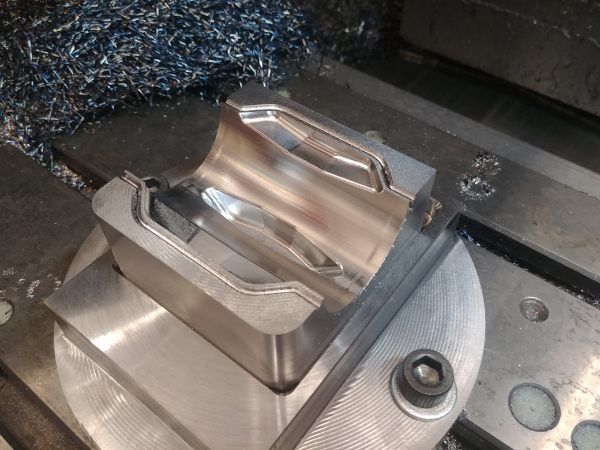
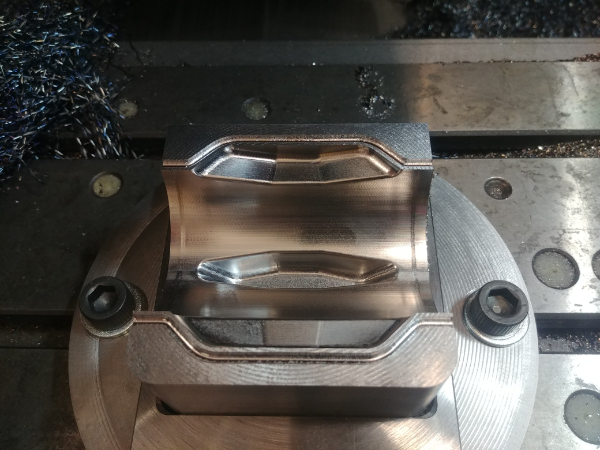
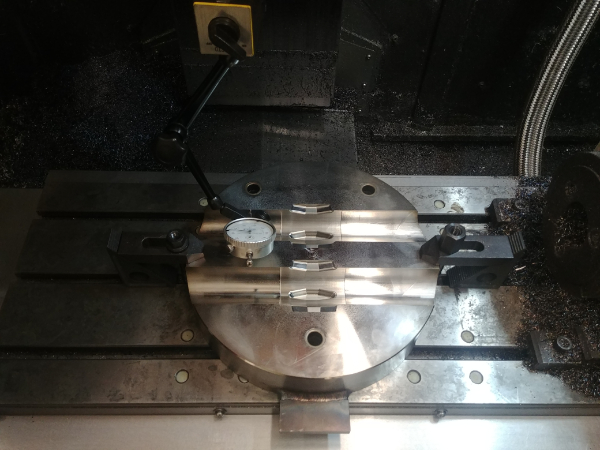
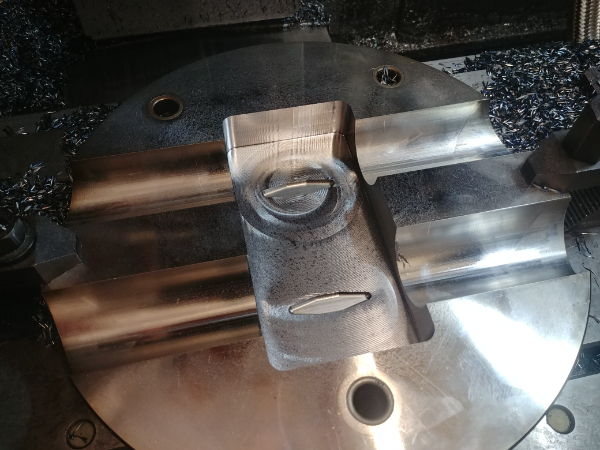
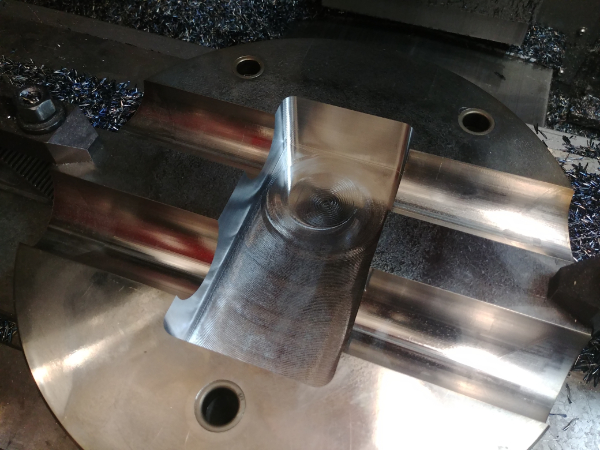
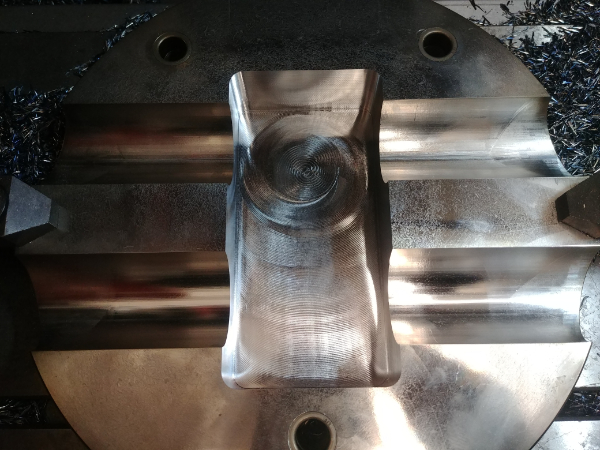
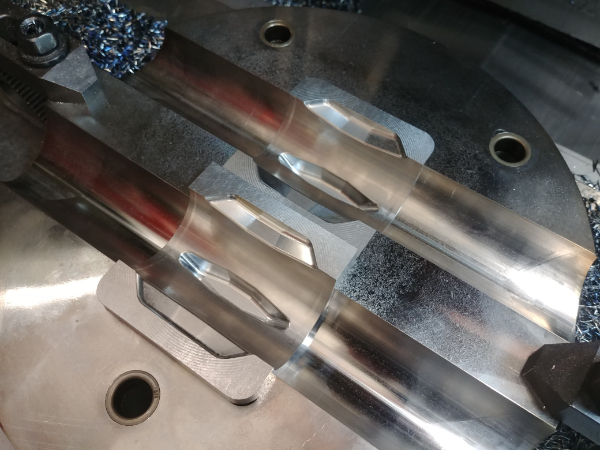
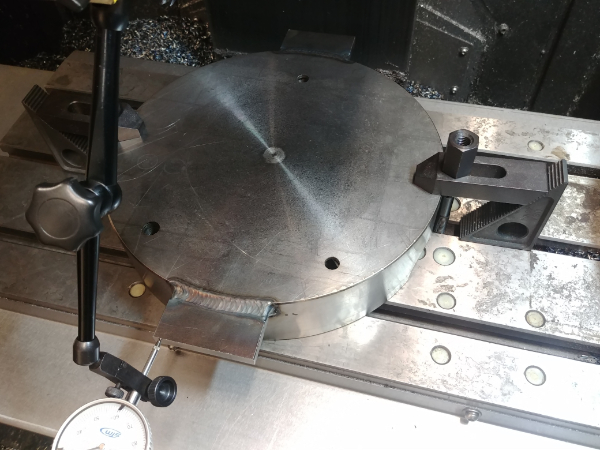
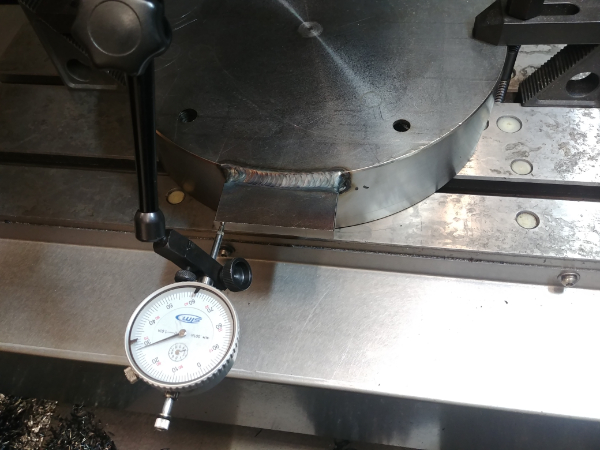
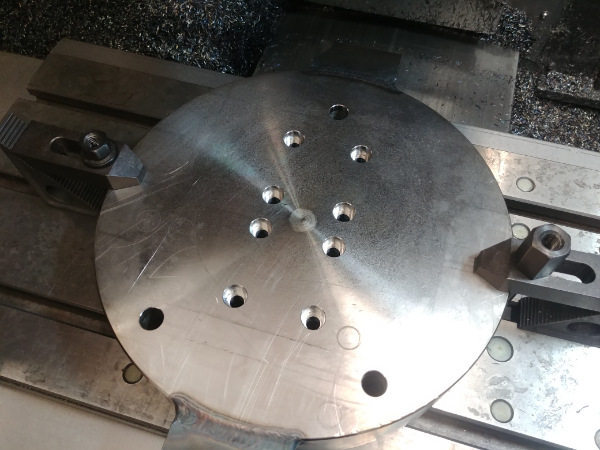
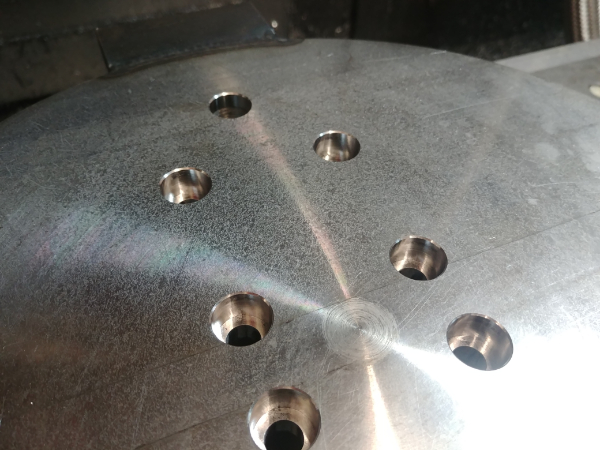
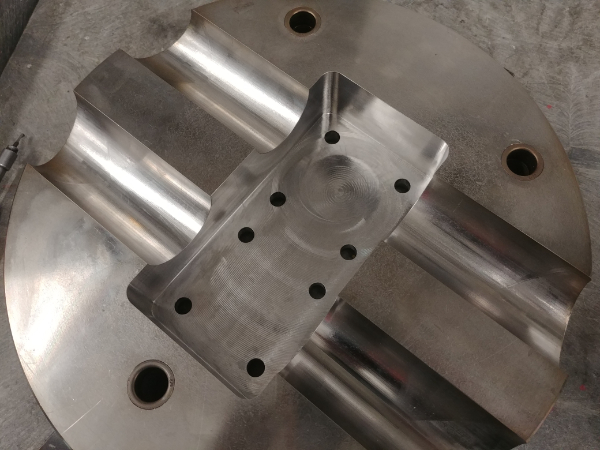
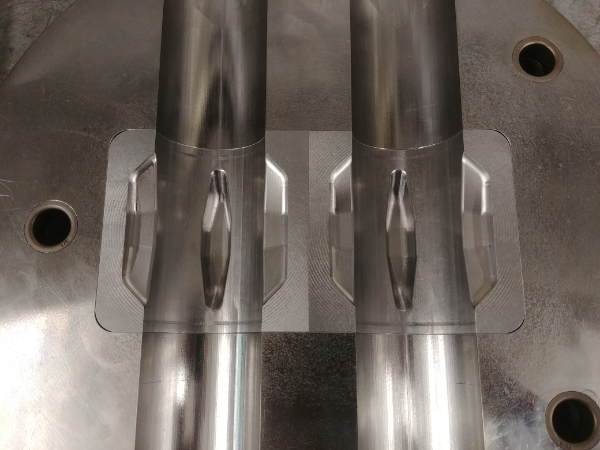
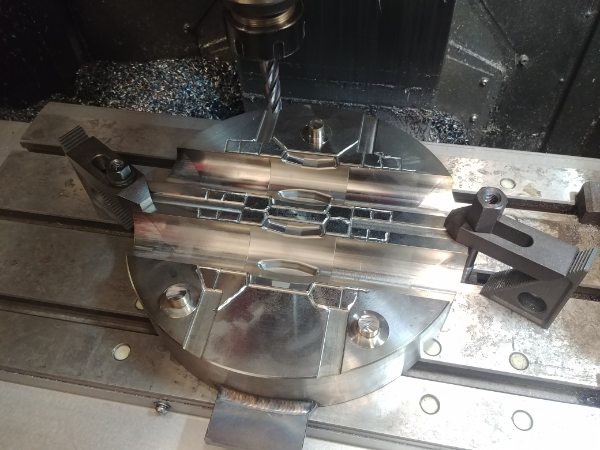
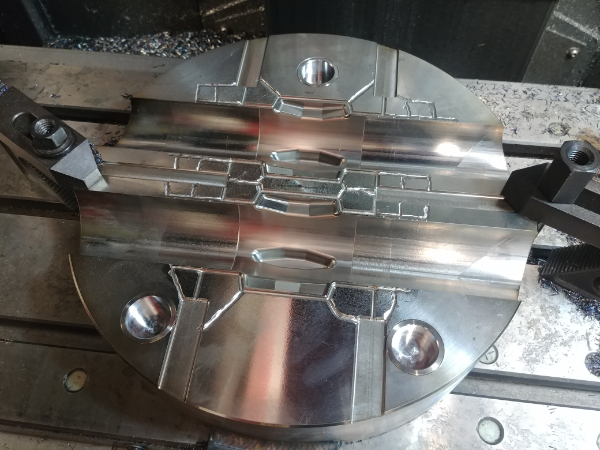
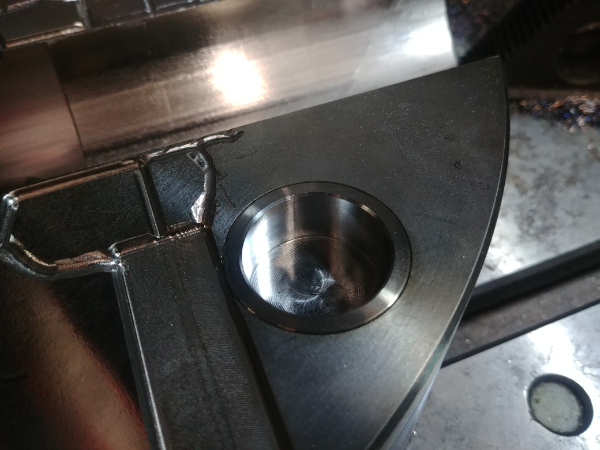
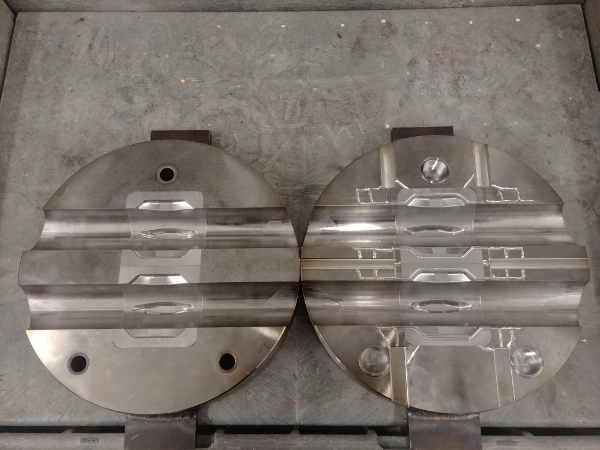
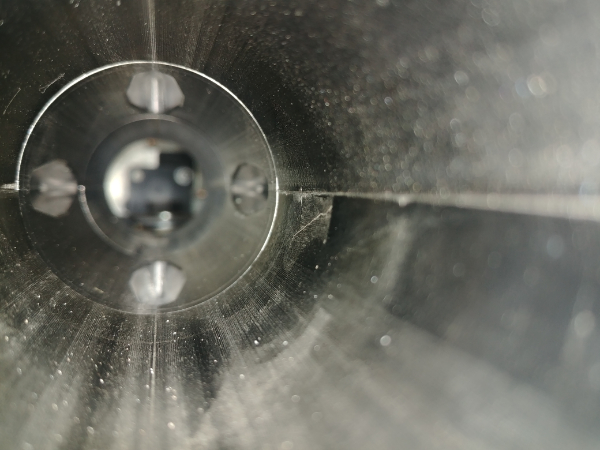
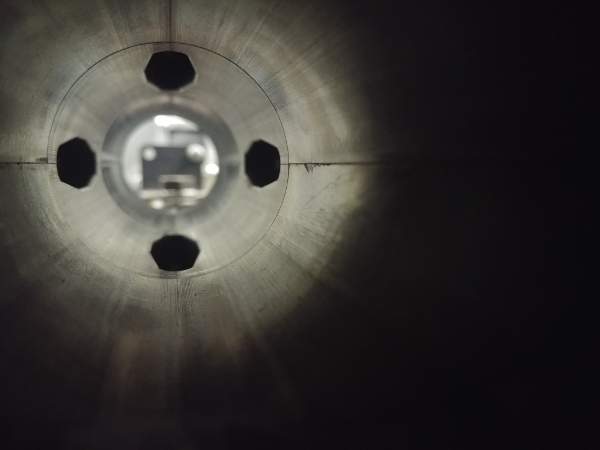
The mould is now complete.
Hello, if you have enjoyed reading this project, have taken an interest in another or want me to progress one further then please consider donating or even sponsoring a small amount every month, for more information on why you may like to help me out then follow the sponsor link to the left. Otherwise you can donate any amount with the link below, thank you!